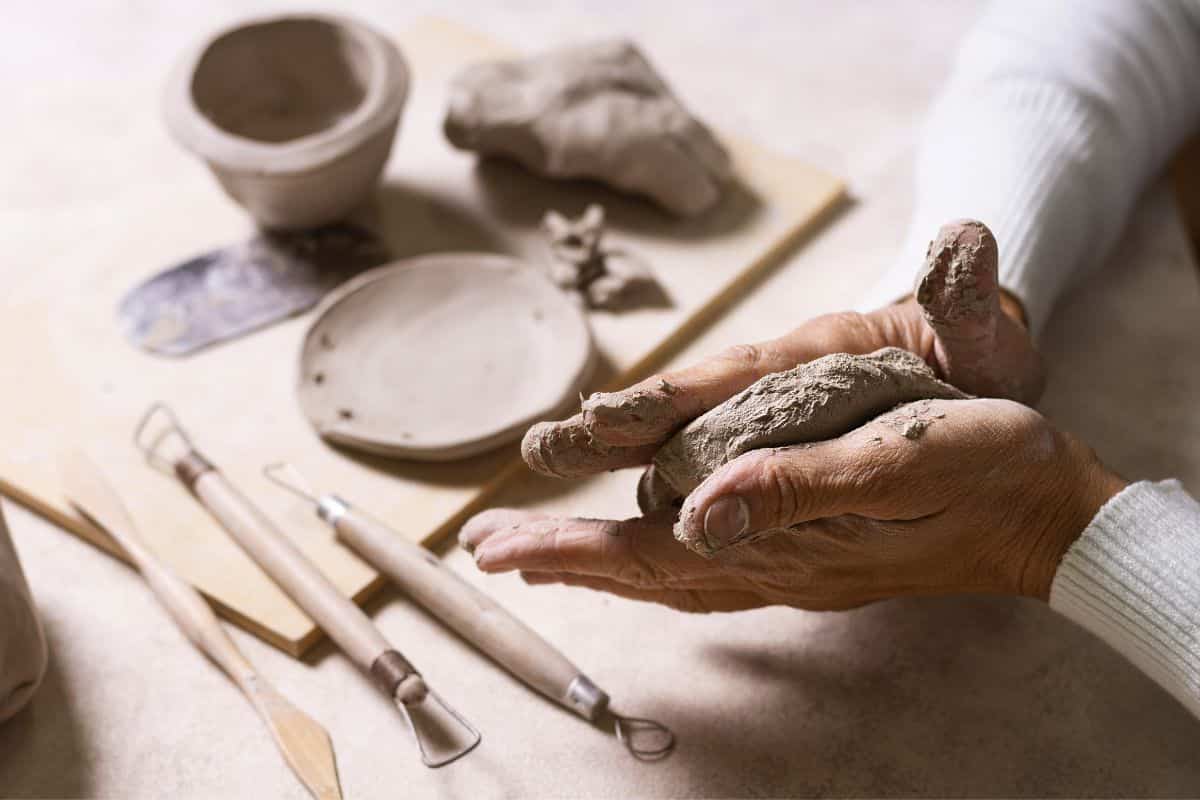
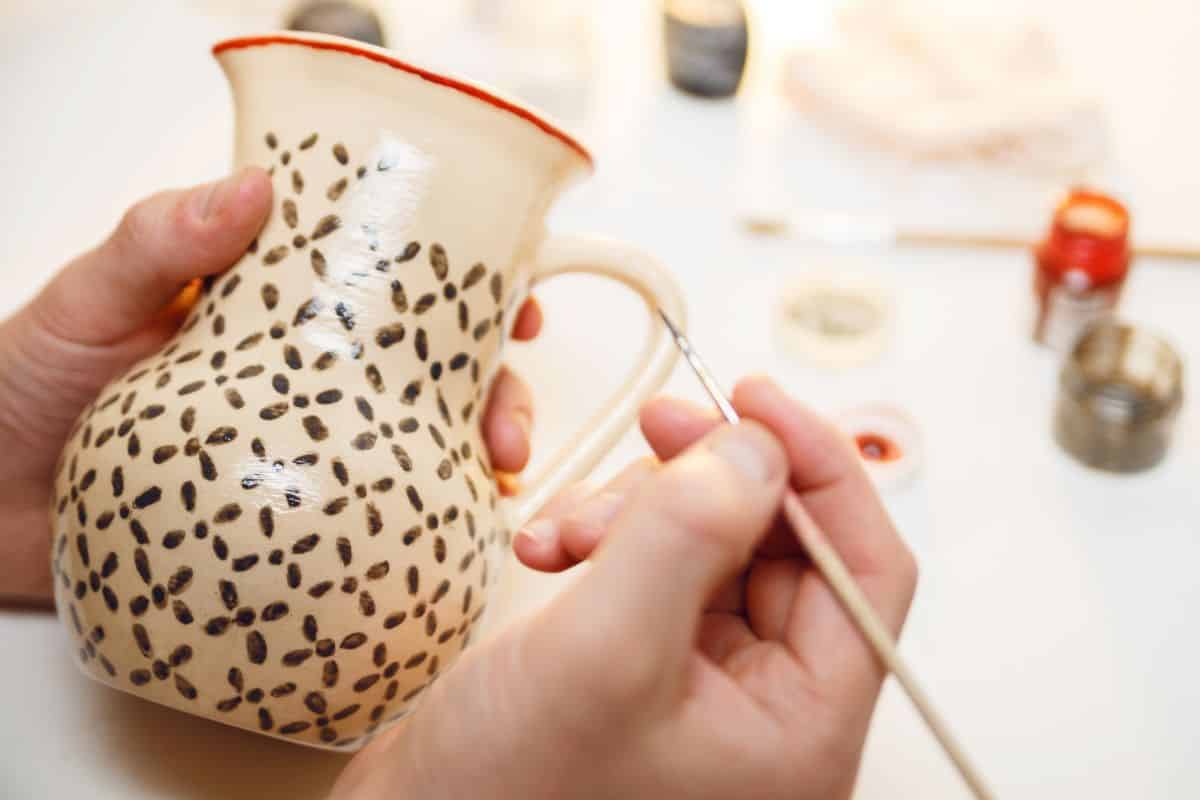
Are you looking to get creative at home maybe with your children? Making a mold of your hands is something that can be a really fun project for adults or children.
You can most likely find material in your home that you are able to use to do this with which makes it a whole lot easier.
This guide will be going through the easiest ways you are able to create this in your own home without lots of hassle or having to visit the local store.

This is a great way to spend your spare time and a great way to keep the kids occupied as well! You also get something at the end of the work as well that you can keep forever!
Hand molds for clay sculptures can be a bit expensive and time-consuming to make if you’re not buying it from the best places for the cheapest rates.
Most of them have the same finishing look, so here is a simple way to make them with a simple molding tool.
Items You Will Need When Using A Bought Kit
- Whisk
- Bowl
- Measuring jug
- Casting kit
Step-By-Step Guide When Using The Kit
To start off the mixture process, you need to pour all of the powder and water into the bucket then you need to give it a good stir.
You need to stir it well to make sure all of the elements are combined together. This can be done by either using the whisk which is on the items list or even a spoon would do the job.
You need to move fast with this type of material because it solidifies really fast. Therefore, you need to get your hand in there before it goes hard.
You should probably think about poppoiung some oil or baby oil on your hand before inserting them to make sure they dont get stuck in there.
This type of activity is far better outdoors because it avoids the mess of any overflow from the mixture. This can happen if you put your hands too deep into the mix.
How Long Do You Need To Keep Your Hands In The Mix?
You are looking to keep your hands in the mix for 3-4 minutes until it solidifies. You will know when it it completely done due to the color change back to completely white and the texture.
When you are taking your hands out of the solid mixture, you need to make sure you are not overly forceful with the mix because otherwise the mold will not form properly and you could break it!
Therefore, you need to make sure you are very gentle to avoid any tears in the mold that could ruin the whole process.
Making The Mold
To actually make the 3D hands you need to mix the stone powder and water which you will then pour into your mold.
Try to always wear gloves when mixing these two together because it can be quite a messy job when dry.
When you start to pour the mixture into the mold you need to make sure you are doing it nice and slowly so it can evenly spread out across all areas.
However, be careful that you do not overflow any by purring too much because it can make a right mess.
You also need to think about removing all of the air bubbles by tapping the container otherwise it will not have that perfect finish you should be looking for. In addition, the bubbles make the structure more likely to be less durable.
How To Remove The Cast
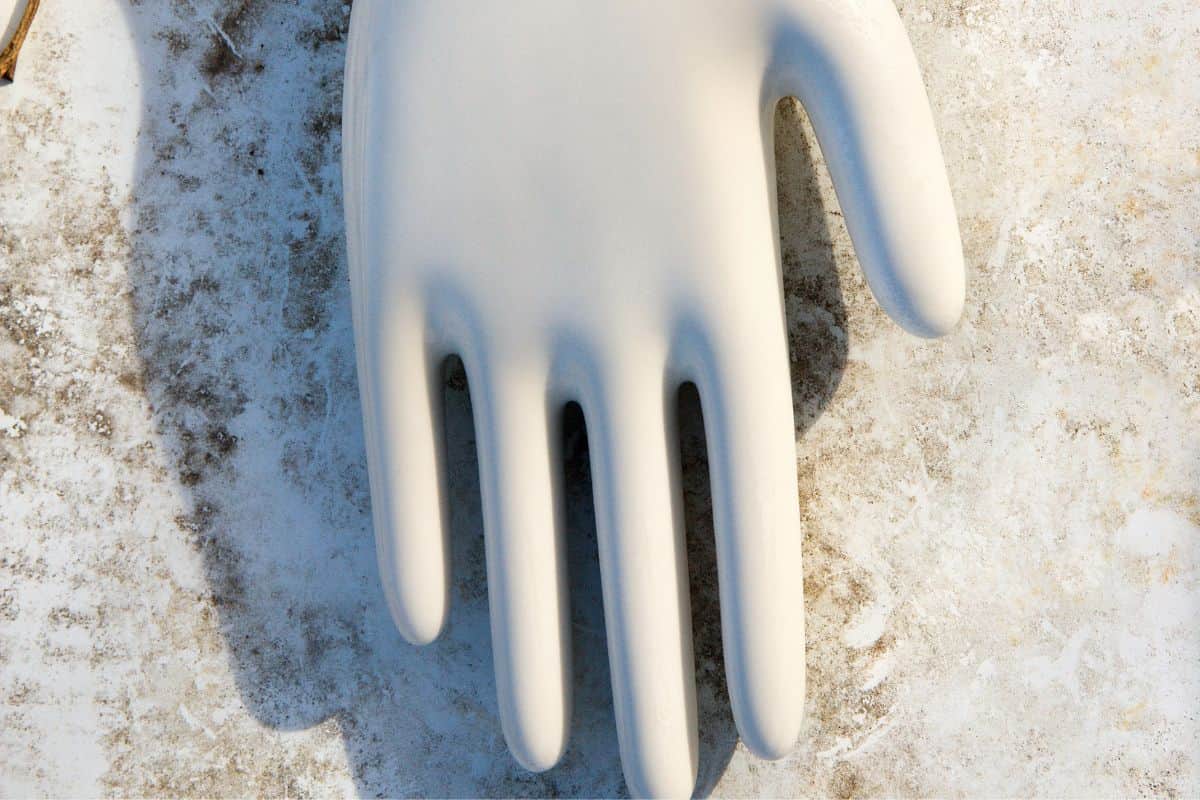
This is the part of the process where you can finally peel away at the mold and show your masterpiece! You need to be careful when peeling it away that you don’t damage your hands.
You also should think about leaving it a bit longer than 30 minutes because all different types of molds take different times to dry and solidify.
You should be very happy with your result as they tend to be very detailed if they are left for long enough to solidify properly.
If you are looking to preserve your masterpiece, you should also look at getting some primer to make them nice and glossy to make the stylish really stand out!
There are also different types of paint that you are able to decorate the hands with such as a nice bronze color!
Other Uses
There are uses for this type of process where you are able to make creative things for other decoration purposes.
For example, this is a great idea for people who want to make skeleton hands for Halloween or do your baby’s feet or hands and memoirs.
They are great ideas for anything you would like to keep as a memory. You are also able to do interlocking hands of a married couple for a present for an anniversary!
Family Molds
There is also the idea of using the family kits where you can connect them all together to create something special for you all.
These ones might be slightly more expensive, but you will be able to all have your own and connect them together.
You can make some really interesting sculptures to put up in your home which will definitely be cheaper than buying them!
These are also great presents for your family members which will have some significant meaning to them as well.
Therefore, this could be either something fun for you and your partner to do, or something special that you’ve really thought about as a lovely gift.
Selling
These types of crafts are great fun but you might be able to make some money by making and selling them online.
Some people might not have the time to make their own sculptures and they would just prefer to buy one! These could also be quite funny versions as well!
Conclusion
Hand molding is a fun, creative and practical skill that can be used to make a variety of items. It is a great way of getting children to use their imagination and develop patience.
Hand molding is a popular technique. It can be used on both wood and non-wood surfaces. You can also experiment with different materials.
Hand molding is a wonderful, fun, and creative way to make your own soap or candle. Learn how to make a simple hand molding soap for different ideas.
Hopefully this guide has given you an easy guide on how to carry out the process of hand molding.
It is quite an easy process when using a kit online because it already contains most of the items you need on the list.
This is a creative way to get your hands stuck in with the family and have some real fun by making something really special!
This is something that isn’t overly expensive in comparison to some other hobbies and you get something at the end of it as well.
Frequently Asked Questions
How Do You Make Plaster Handprints For Kids?
To make a cast of your child’s hand or footprint, pour one inch of plaster mix into a paper plate. Wait two minutes for plaster of Paris and six minutes for patch plaster to settle before imprinting your child’s hand or foot.
Have your child press her hand or foot gently into the plaster.
How Long Does It Take To Do A Hand Casting?
How Long Does It Take? Between prep time (10 minutes), casting time (30 minutes), and demolding time (six+ hours), this project should take roughly seven hours, depending on various factors.

