Has your ceramic mug broken and you don’t know how to fix it? Maybe your beloved coffee mug has a chip in it and you want to fix it? Or are you curious and want to know more?
Whatever the reason might be that brought you here today, we have the answer for you!
We know how annoying it can be when your favorite mug breaks! It is even more frustrating when it is a ceramic mug you have made yourself or one that has sentimental value to you.
You don’t want it to end up in the bin, so you head online, to see if you can repair it yourself and enjoy a leak-free coffee.
But you are met with conflicting advice, terrible tutorials, and a sinking feeling that this might be the end of the road for your favorite mug. You see it sitting on the draining board, waiting to make its final trip to the bin.
They can also be used on plates, lids, mug handles, pots, and other ceramic appliances and should be your first port of call when it comes to repairing your damaged ceramic mug.
Our favorite glue is the Gorilla 2 Part Epoxy, 5 Minute Ceramic Glue. You can pick it up for an affordable price, and the small syringe should help you fix most broken and chipped ceramic mugs and pieces in your home.
Just make sure the glue is fully dried and cured before you fill your mug with coffee, otherwise, you could ruin the seal and undo all of your hard work!
Just follow the instructions on the packaging to make your repair and allow plenty of time for the glue to dry.
Now, this is the easiest way to make your repairs, but if it doesn’t work, or you don’t want to use the glue, then keep reading! We have a few different methods coming up for you, so you are sure to find a way to fix your mug that suits you best!
Just stick with us as we walk you through each method step-by-step now.
How To Fix A Cracked Coffee Mug
First up, let’s take a look at how we can fix cracked coffee mugs! We can’t be without our morning coffee or our favorite mug to drink out of, so use our steps below to fix your mug now!
What You Need
First, you will need to gather the following materials. Thankfully, most of these are widely available and affordable, so you don’t need to worry too much about your budget!
Most of these items you should already have at home, but if not you can purchase them for a few dollars in-store or online. Once you have them, it is time to crack on and make your repair!
Step 1 – Inspect The Crack
First, we need to examine the crack in our mug. Here you don’t want to pull or separate the crack with your hand. Instead, have a good look, and remember to be gentle with your mug!
If the crack is quite small (like a scratch) and doesn’t feel loose when you hold the mug, or there isn’t any space between the cracked edges, then it won’t need to be repaired.
However, if there is some space between the cracked edges (even a little bit) or the edges can be pulled apart slightly, then you need to make the repair. Read on to find out how to fix the crack now.
Step 2 – Mix Your Solution
Next, we need to mix a small amount of epoxy with the same amount of hardener. How much you need will depend on the size of the crack.
Epoxy typically comes with a hardener and a dual syringe applicator that allows you to get an equal amount of epoxy and hardener.
Decant the epoxy and hardener onto a paper plate or piece of cardboard. Take your popsicle stick and mix them. If you need some help with this, there are usually instructions on the epoxy or hardener packaging.
Step 3 – Push The Crack
Take the sharp edge of your razor blade and push it into the crack, this will open the gap a little wider for you. Keep the blade held tightly and gently apply pressure to the mug.
Here we are looking to make the opening between the cracked edges wide enough to fit our solution between, rather than break the mug in two!
Step 4 – Apply The Epoxy
Once you have the gap wide enough to fit the epoxy in, take your solution on a toothpick and apply it to the crack. You will need to be quick here, as you on;y have three or four minutes before your epoxy starts to dry and cure!
You will want to take care too, as epoxy can run out of the crack and harden in the wrong place! The last thing you want is blobs of hardened epoxy on your favorite mug!
Step 5 – Wrap And Wipe
Once the epoxy is in place, take a rubber band and wrap it around your ceramic mug, this will hold your cracked edges tightly in place. Take a dry cloth and wipe any excess epoxy from your mug.
Take care when doing so that you aren’t pushing on the cracked area, as this will impact how well the pieces stick together.
Step 6 – Leave It To Dry
Finally, you need to leave your mug to dry. Place it on a plain and level surface and leave it until the epoxy has completely cured. You can check how long this will take by reading the epoxy packaging.
Once dried, you can remove the rubber band and give your mug a clean to remove any final residue. Once washed and dried, you can use your mug again without worrying about the crack!
How To Fix A Broken Ceramic Mug
Next, let’s look at how you can fix a broken ceramic mug! By broken, we mean broken, like your mug is in two or more parts! This can take a little longer than repairing a crack or two, but don’t worry, we have all the steps you need listed below!
What You Need
Before we start, make sure you take some time to gather the following materials. Having everything ready to go will make the repair far easier!
A dry cloth
Epoxy
Hand gloves
Hardener
Masking tape
Paper bowl
Paintbrush
Small bucket
Step 1 – Get The Pieces
To start, gather all the pieces of your ceramic mug and put the pieces to one side. Make sure you are wearing gloves when handling the pieces and take care when picking up sharp pieces, you don’t want to hurt yourself!
Step 2 – Set The Mug
Place the body of the mug in a bucket of sand, with the parts that need to be repaired facing up. This helps keep the mug secure and means you can easily work with both of your hands!
Step 3 – Remove The Dust
Take a toothbrush or small paintbrush and use it to brush all the debris from the broken edges of your mug. Take your time when doing this, as we want all our pieces clean before we attach them!
Step 4 – Make Your Solution
Like we did earlier when repairing cracks, you want to mix your epoxy with the same amount of hardener. When doing this, put the epoxy and hardener into a paper bowl and use a popsicle stick to mix them thoroughly.
Step 5 – Apply Your Solution
Once mixed, you can apply the epoxy to the edges of your mug that are broken. Apply the solution using a toothpick, taking care not to get any solution where you don’t want it!
This stuff starts to set pretty quickly, so work quickly, taking care as you apply the solution.
Step 6 – Make The Repair
Set the broken piece or pieces into the main body of the mug, holding them for 30 to 40 seconds as you do. Next, use the masking tape to cover each side of the crack. Repeat this process until all of the pieces of the mug are attached to the main body.
To finish, take a soft and dry cloth and use it to clean the mug and wipe away any excess epoxy solution.
Step 7 – Leave It Dry
Take your mug and place it on a plain and dry surface. Leave it to sit here for at least 15 minutes, this will allow the epoxy to cure. You can then remove the masking tape carefully and clean the mug.
Once your mug is clean and dry, you can use it again just like you did before! Who knows, maybe the old crack lines will now look like a funky pattern?
How To Repair Chipped Mugs
Chips are equally as annoying as cracks in a ceramic mug, and if left alone they can become quite dangerous. Thankfully, we have some tips below that will help you fix them, be sure to give them a read now!
Use Nail Polish (For Chips)
Nail polish can smooth out chips in a ceramic mug in no time! Simply paint the chipped area (taking care of any sharp edges) with your nail polish and leave it to dry.
For this, we recommend using non-toxic nail polish. You can find these in most drugstores or online for a reasonable price.
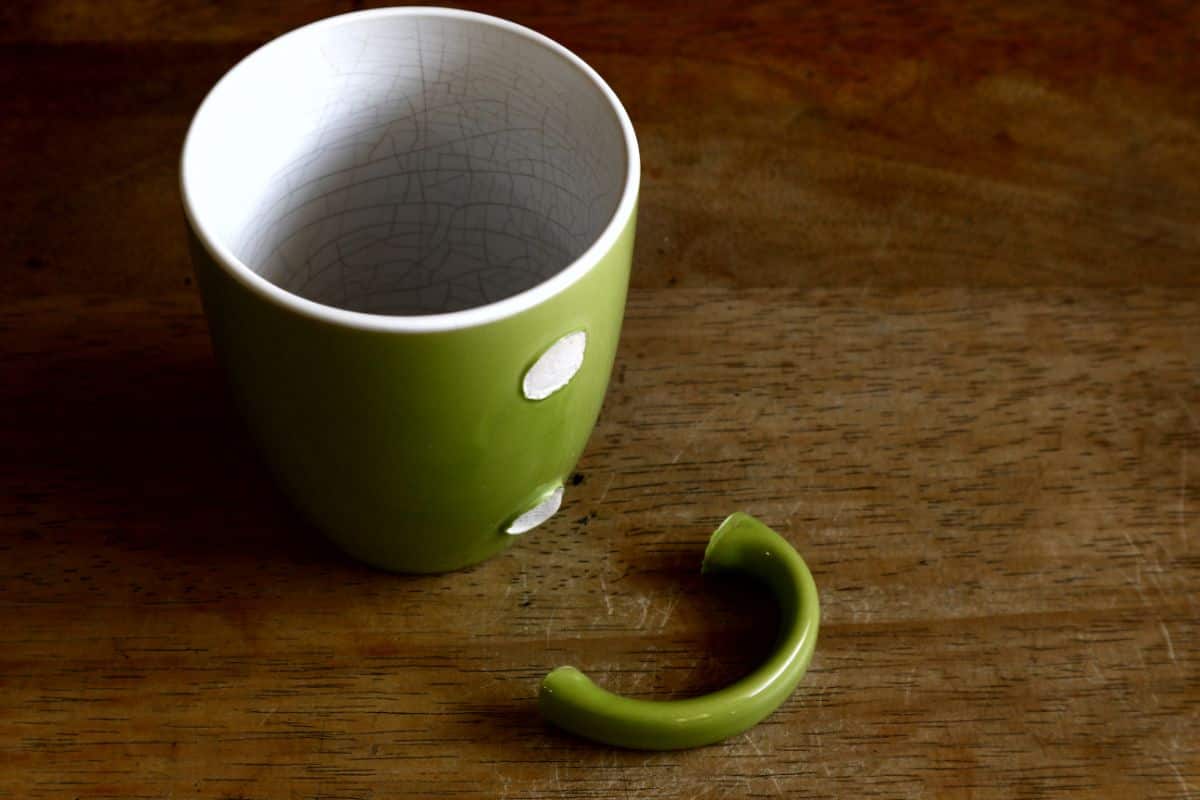
Use Ceramic Epoxy (For Broken Handles)
If your mug has a broken handle, you can fix it using epoxy glue, which tends to be stronger than super glue. Simply apply your epoxy glue to the broken area and set the handle into place.
Leave the mug for 24 hours for the glue to cure before you pick it up and use it. This allows the glue to dry and harden completely and decreases the chances of the handle braking again!
Repairing Mugs With Cyanoacrylate Glue
Cyanoacrylate glue, gorilla glue, or super glue as it is also known, is a strong glue that sets quickly, creating a tough bond between the two pieces.
You can pick these glues up in a liquid formula that will soak into the cracks and provide better heat and water resistance than other adhesives on the market.
When using these glues to fix your mug, you first need to consider how you will use the mug once it has been repaired. If you plan to drink from the mug, then make sure you are using glue that is food safe and non-toxic.
This will usually be printed on the front of the glue, so you can check easily if it is suitable for use or not.
You can, of course, use cyanoacrylate glue if you prefer, but we think it’s better to avoid the risk of being unwell and use glue that is safe for you to come into contact with! Follow the steps below to use the glue to fix your mug.
Apply the glue to the cracked line, making sure there is enough glue for it to soak into the crack.
Leave the glue for three to five seconds for it to soak into the crack.
Take a dry cloth to wipe off the excess glue before it starts to cure.
Leave the mug for five minutes for the glue to cure, or longer depending on the instructions on the glue.
Once the glue is completely cured, wash your mug and use it as normal.
Repairing Mugs With Epoxy
As we have mentioned before, epoxy is a two-part adhesive that features a hardening agent and a resin. Once you have mixed the adhesive, they start to cure, making a strong bond that works on virtually any surface, including mugs!
Epoxy is also heat and water resistant, and for the most part, it is food safe too, so you can use it for mugs and plates worry-free! We find that this works better than cyanoacrylate glue too, especially for larger cracks or broken pieces!
Use our steps below to find out how to use it with ease.
1. Mix your epoxy solution well for a few minutes, you want the epoxy and hardener to be thoroughly combined.
2. Take the mixture on a toothpick or similar small object and apply a layer of the solution to the cracked or broken pieces.
3. Allow the epoxy to soak into the cracks for no more than five minutes.
4. Take a dry cloth to wipe off any excess epoxy that has spilled over the sides of the crack. It’s best to do this before the epoxy dries and hardens, as it will be very tough to remove.
5. Allow the mug to rest for five minutes for the epoxy to cure. You might need to leave it for longer depending on the epoxy and hardener you have used. You can check the information on the packaging for the recommended time you should leave the mug.
6. Once cured, you can wash and dry the mug and start to use it as you normally would!
Final Thoughts
And there you have it, a complete guide that has walked you through the process of fixing any broken, chipped, or cracked ceramic mugs!
Whether you choose to use glue, epoxy solution, or some nail polish, we hope that you have found today’s article helpful.
Each method is easy to follow and should allow you to restore your mugs to their former glory in a few minutes or hours! Make sure that you are careful when applying the glue or epoxy and work on clean surfaces for best results.
Wash your hands thoroughly before and after and avoid direct contact with the glue and epoxy where possible.
You will also want to check the packaging of the glue or epoxy before you start to ensure that it is non-toxic and safe for you to use on mugs. After all, the last thing you want to do is make yourself unwell.
No matter the method you choose, we are sure you are capable of restoring your broken, chipped, or cracked mug to its former glory and enjoying your favorite drinks or mug cakes from it again in the near future. Good luck!