Have you found yourself wondering if you can fire pottery without a kiln? Maybe you want to move away from your electric kiln and see how else you can fire pottery?
Or are you curious and want to know more? Whatever the reason might be that brought you here today, we have the answers for you!
Firing pottery with an electric kiln is super convenient, there is no getting away from it, but how was pottery fired before? And is there a more creative or fun way to fire your pottery?
These questions can enter our mind, and they can be tricky to shake! So you head online, but you can’t seem to find the answers that you need! You start to wonder if it is even possible for you to fire pottery without a kiln in the modern age.
Well, that is where we come in with the answers that you need! Just keep reading to find out how you can fire pottery easily without a kiln!
All you need is some firewood and rocks and you too can fire your pottery without a kiln. We have a full guide for you below, so let’s dive in!
How To Fire Pottery Safely
Before we get into firing pottery without a kiln, let’s first touch on safety. First things first, you need the heat of roughly 1,300 degrees Fahrenheit for most clays to fire successfully.
This is much hotter than household ovens, but you can use a campfire to reach these temperatures. You will need to make sure where you build the fire is safe to do so and that you can legally set a fire on the land.
You will want an open space of at least 50 feet that is clear of burnable materials. This includes grass, weeds, trees, or trash.
You will also want to ensure that there isn’t any wildlife around like birds, rabbits, or other burrowing animals or nests nearby. The last thing you want to do is startle these animals or ruin their habitat!
Make sure you also have plenty of water and a shovel on hand. These will help you to control the fire should it get out of hand. If you can, take a bucket of water or a hose with a spray nozzle.
Make sure that the fire you make is large enough for the pottery but not too large that you couldn’t put it out when needed!
You will want to tell someone where you are going and your plans if you aren’t setting the fire on your land, and contact them regularly. That way, should they not hear from you, they will assume something has gone wrong and they can alert the authorities.
Fire is extremely dangerous, so make sure you follow our steps today to ensure your safety and the safety of others at all times!
The last thing you want to do is hurt yourself or someone else, so make sure you are safe at all times and call the emergency services if you find yourself in difficulty.
Now that we have covered the safety aspects of using an open fire to fire your pottery, let’s move on to see how you can fire pottery without a kiln!
How To Fire Pottery Without A Kiln – Outdoor Firing Process
Let’s get straight into it! Today the method we are using is the outdoor firing process. This involves using an open fire with just fuel and kiln furniture to fire your pottery.
This is very different from using an electric pottery kiln and is done in four steps. We will walk you through these steps now, but remember to keep your safety and the safety of others in mind at all times!
Primary Fire
To start, we need a primary fire. This can be done with a layer of hot coals placed under your pottery. The primary fire is the initial fire that will create the layer of coals that will heat your pottery.
You will want long-burning wood that will create the bed of coals for your pottery, just like what we need when we are cooking a steak.
We recommend using juniper, ash, mesquite, or oak to create these coals and would avoid pine as it doesn’t burn as well as the other woods.
As your fire burns, place your pottery around the fire. This will help it warm up and should remove any moisture left in the pots.
You will want to keep your pottery away from the damp ground and rotate them frequently so they are heated on all sides.
When it comes to using an outdoor fire for pottery, moisture in the clay is the main reason pottery breaks so we want our pottery to be completely free of moisture!
Kiln Setting
Once the primary fire has become coals, carefully spread them so that there will be coals under all the pottery you are firing. Make sure you use a poker or long stick to move the coals around.
Next, place stones on top of your coals. You will want to do this so that your pottery can rest on these rocks evenly. If you have any kiln furniture, you can use these, but often kiln kits for outdoor firing use rocks too.
These rocks or stones will stop the pottery from coming into direct contact with the fire, as this can cause dark spots or fire clouds to appear on your pottery.
By using stones, we can encourage air circulation around and under the pottery that helps it heat up faster and oxidize.
If you don’t have suitable stones, you can use fired pieces of pottery to stop your pottery from coming into contact with your fuel.
These are often called cover sherds and were used by prehistoric potters to protect their new clay pieces while they were being fired.
If you have unpainted or plain pots, then you might want some fire clouds on them, in which case, you don’t need to worry about using old pottery pieces.
However, if your pottery has a pattern on it or you don’t want fire clouds, then place your pottery on a stone and cover it with the cover sherds. They won’t impact your pottery being fired, but protect it from fire clouds and keep your design intact!
To stack your outdoor fire, you will want hot coals on the ground, stones or kiln furniture on top, your pot sitting on the stone, and optionally covered by the cover sherds.
Once you have built your kiln, it is time to stack the firewood for our secondary fire!
Secondary Fire
Your secondary fire is where we fire our pottery and will turn your green pots into ceramic earthenware. To do this, you will want plenty of firewood that isn’t bigger than a man’s arm. If you have large rounds, then split them into the size you need.
Here you want your wood to burn quickly, so opt for smaller chunks of wood, rather than larger ones that burn slowly.
Once you have your wood, stack it over your pottery. Here you want to do this in a teepee style, where your sticks are placed at an angle that allows them to lay on the pottery as they burn rather than fall over.
You will want to add enough firewood that you can hardly see your pottery, apart from through some small openings here and there.
By the time your firewood is stacked, it might be burning from the hot coals underneath. If it doesn’t have them, you can add some small sticks, leaves, or lighter fluid to help get the fire going.
Once the fire starts to burn, you can relax slightly! All you need to do is keep an eye on the fire and watch the wood burn down. You shouldn’t need to refuel the fire, and it should take 15 to 20 minutes for the fire to burn down.
Cooling
We are into the final stages now! It is surprising how quick the process is, especially if you have never used an outdoor fire for your pottery before!
The pottery will go through extreme stress as the temperature rises quickly and cools rapidly, this only happens in these fires. Modern kilns these days heat up and cool slowly to avoid the stress.
Your pottery should survive this stress easily if you add some grog (or temper) to your natural clay. Usually, 20% is enough to ensure success, but it might be a case of trial and error depending on the clay you are using.
Once the wood has become coals and you can’t see any more active flames, then your pottery is done! For those in a hurry, start to gently pull the coals away from the pot.
It’s best to work slowly here as you don’t want to cause any damage to your pottery! By moving the coals away, your pottery can cool quickly too, meaning you can enjoy it sooner.
Wait a little longer before removing the sherds to ensure that they have cooled too.
This way, you are exposing the pottery in stages, allowing it to cool at a slower pace than it would in a kiln. Your pots are going to still be too hot to touch, even with leather gloves on, so leave them be!
Here you will need to be patient, after all, you don’t want to undo all your hard work so close to the finish line!
Once your pot is cooler, you can remove it from the fire with a shovel or metal instrument that won’t burn on the hot surface.
If you’ve removed the pots while the fire is still hot make sure you don’t put them on concrete, stone, or a hard and cool surface as this can cause them to crack. Instead, you can use one of the cover sherds.
These are already hot and should avoid the pots cracking. You can also use sand or dirt which aren’t as dense as stone.
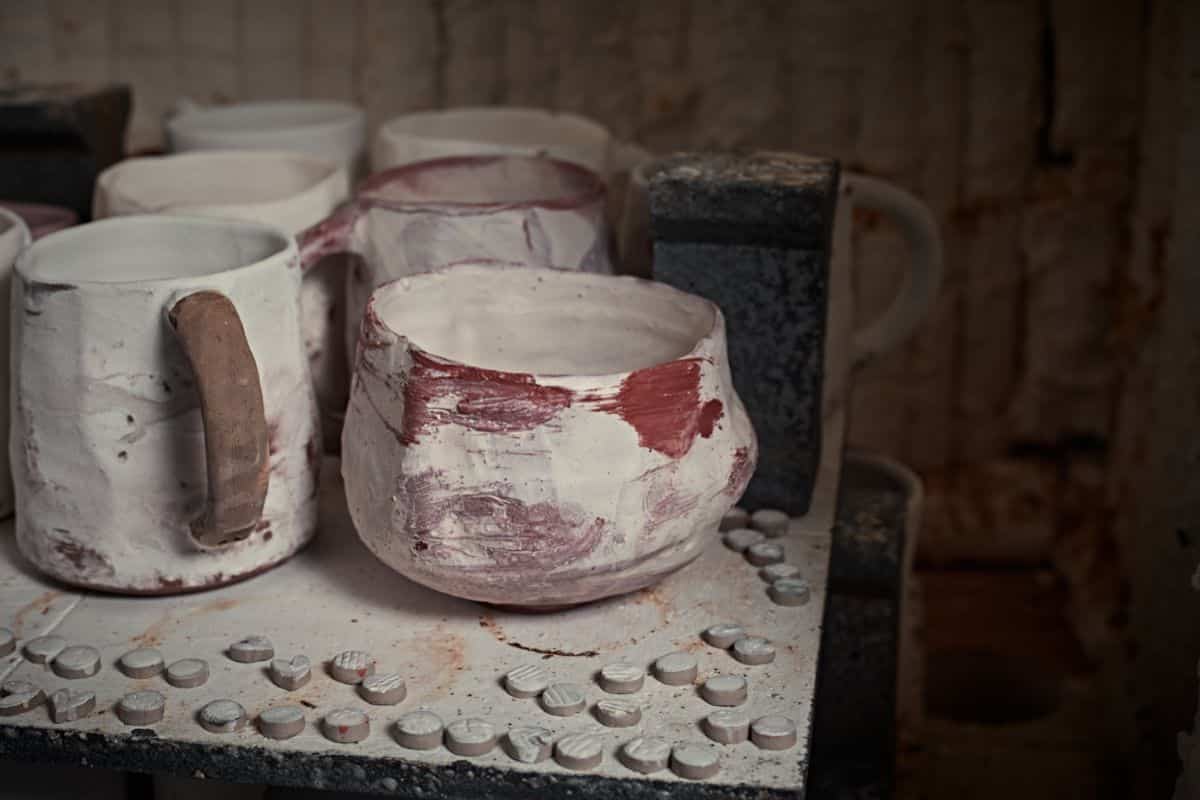
When the pots are exposed to the fire, any red areas are dark, appearing brown or black, and then these areas will oxidize as they cool. It’s incredible to see your pots change in front of you, and super satisfying too!
No matter how many times you use fire to fire your pottery, you are sure to be amazed by the transformation!
Final Thoughts
And there you have it, how you can fire pottery without the use of an electric kiln! It isn’t as tricky as you first thought, is it? And providing that you follow the steps we have listed for you, you can avoid damaging your pottery or yourself.
Remember that you need to keep your safety a priority at all times and to ensure that the fire is in a safe space away from any burnable objects.
You will also want to allow plenty of time and space for your pottery to cool appropriately to avoid it getting damaged or burning yourself.
Using an outdoor fire is a fun way to fire your pottery and it’s something all potters should try at some point! Why not give it a try today and see how your pottery turns out?