Slip is a kind of clay slurry that you can use to make a variety of pottery wares. You can get different types of slip which are used for different ways of working with clay.
The right way of making slip for clay depends on the purpose and what you want to use the slip for. You can make decorating slip, joining slip and even casting slip.
Even though the different types of slip vary, making slip usually involves breaking up dry clay into smaller pieces. This is then submerged in water until all the parts have dissolved.
In this guide, we’ll take you through the individual steps of how to make slip for clay.
Making Slip For Clay
When you want to make slip, it’s important to use clay from the same body to ensure that your slip looks and feels consistent.
If you use slip regularly, then it’s a good idea to make a big batch of slip so you don’t run out in the middle of a pottery session.
Although slip making is relatively easy, it’s not as simple as dropping some clay into water and waiting until it has dissolved.
Let’s take a look at the most effective way of making clay slip.
Always Use Bone Dry Clay
The basis for slip is bone dry clay, so collect some scraps or parts of clay from your clay body.
If you do not have any bone dry clay at hand, then use any clay you have and shape it into small clay discs. Then allow it to dry for a few days.
You can also place the discs on a wire baking tray. This will allow the air to circulate all around the cookie-sized pieces and they will dry faster.
Break Up The Bone Dry Clay
Once you have your bone dry clay ready, you can break it up into small pieces. The parts should be as small as possible, ideally powdered.
Place the pieces in a sturdy plastic bag and then go over the closed bag with a rolling pin to crush the pieces.
Please note that this does create some clay dust, so make sure that the room is well ventilated or you can also do it outside.
Alternatively, you can also just break the clay up into smaller pieces of around half an inch.
Once the clay is small enough, place it into a disposable container or jar.
Slaking Down
Now, pour some cold water over the clay inside the jar. It shouldn’t be too watery, so just make sure that all the pieces are fully covered.
Next, allow the clay to dissolve in the water for some time.
The reason why you should be using bone dry clay is because it absorbs the water at an even level, which breaks it up quicker. Other clays, such as plastic clay won’t do this.
The process of bone dry clay dissolving in the water is known amongst potters as slaking down.
This takes a little bit of time and we would recommend that you leave the clay for 24 hours or overnight.
However, this depends on the size of the bone dried pieces you use. The smaller your pieces, the quicker the slaking down process.
Mixing Up The Clay Slip
When you think that the clay has absorbed enough moisture, then it’s a good idea to mix it fully with a hand blender. This ensures that all the pieces are broken up properly.
Alternatively, you can also just put a lid on the jar and shake it thoroughly.
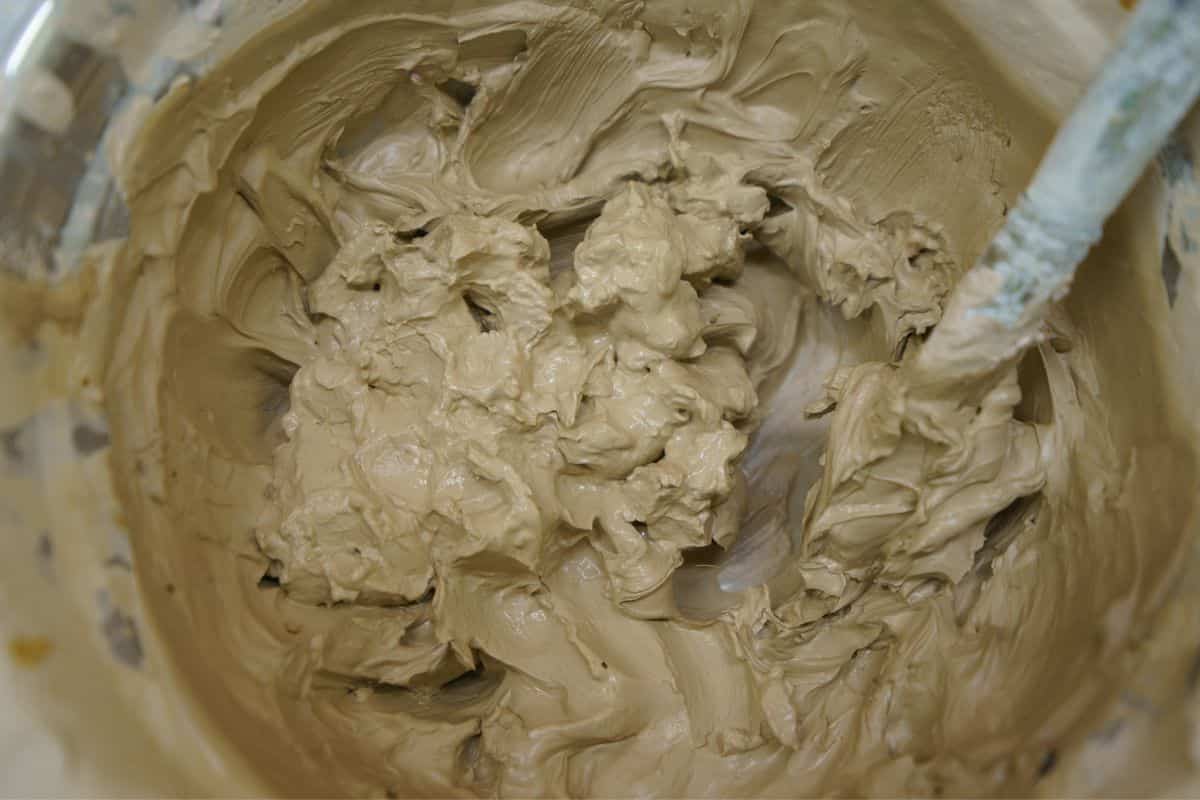
The exact consistency of the slip will depend on what you use it for. If you want a joining slip, then it’s best to create a consistency which resembles whipped cream.
If you put too much water in and your slip is too then, then allow it to settle for a few hours. This separates the water from the clay. The water will end up on top and you can just pour it off.
Store Your Slip Properly
The best way to store your slip after you made it is in a sealed container. Then it’s ready for when you want to use it in future.
Some potters also like to place a plastic bag or saran wrap on top of the slip. This will ensure that the slip doesn’t dry out too much.
You can put a layer of saran wrap or a piece of plastic bag on the surface of the slip. This will prevent the slip from losing moisture between uses.
Add Extra Ingredients
Essentially, slip is just a combination of water and dissolved clay pieces but there are some extra ingredients that you can add to preserve your clay and make it smoother.
We found that adding a little white vinegar to the water when you make the slip can help with a number of issues.
For example, the vinegar will speed up the dissolving process and it makes the slip stronger.
Vinegar also thickens the slip and it makes it more adhesive which is ideal when you want to use it as joining slip.
There is no exact mixing ratio for vinegar in slip but you can just use roughly a tablespoon of vinegar in half a pint of slip.
Make sure that you add the vinegar to the water to ensure that it dissolves evenly with the water.
As an alternative to vinegar, you can also use Epsom salt which works in a very similar way to vinegar. However, Epsom salt will need some time to dissolve before you add it to the slip.
Another good ingredient to add to slip is bleach. Slip can easily go moldy when it is stored for long periods of time.
Add a little bit of bleach into the slip to prevent any mold or bacteria.
Final Thoughts
While making slip for clay is relatively easy, there are a few things to look out for to ensure that you get the right consistency for your pottery project.