Have you wanted to try slab building pottery but don’t know where to start? Or are you looking to teach slab building pottery to your students and aren’t sure what the best approach is? Whatever your question is, today we have the answer for you!
We know how tricky it can be to master slab building pottery, especially when you are teaching a class on it and are here to help!
Today, we are proud to share our lesson plan with you that will walk you through everything you need to know about teaching a slab building pottery class!
Whether you are following along at home or planning to teach these sessions to your students, we are sure you will find it useful and be able to achieve your goals. Just keep reading to find out more.
What Is Slab Pottery?
Before we dive into today’s article, let’s have a quick recap for those that need it! Slab building pottery is a type of hand-building where walled pieces are formed together thanks to slip and score.
It is a technique used in ceramics where you use your hands and basic tools to form clay instead of a pottery wheel.
Slab pots tend to be more angular with geometric forms rather than traditional ceramic projects. You need to create walls for the container and slip and score the clay with a needle where the walls will meet.
To finish you form together your walls to create the finished piece.
We know that can sound a little confusing, but trust us, this is a fantastic way to make unique pottery pieces! To help you through the process, or to help you teach others, we have devised a complete lesson plan that you can use!
Whether you want to follow along or use it for inspiration for future lessons, then keep reading to see our lesson plan now!
A Lesson Plan For Slab Pottery
That’s right, we have a complete lesson plan for you to use below! Just keep reading to learn how to make slab pottery and how you can teach others to make it too.
Overview
This lesson plan has been designed for high school students, aged 14 to 18, but it can also be modified for younger or older students too. There is no right age to learn how to make slab pottery, so whatever your ability level or age, you can follow along too!
The plan is spread over seven days of lessons, each one building on what you learn in the last lesson. So by the end of the seven days, you and your students should know the following:
Some art history about slab building pottery
The foundation techniques needed for ceramics
How to create slab-built pottery
What You Need
Before you start, make sure that you have the following for everyone that is taking part in your lesson. You might also want some spares too, as accidents do happen!
Clay
Large canvas board
Scoring tool
Slab roller
Spray bottle
Once you have all your tools, you can get started! Make sure you have enough for yourself to use too, as a demonstration always helps people understand the task ahead of them!
Day 1 – Play
Let’s get started! Day one should be dedicated to getting your students familiar with clay. There are a few ways you can do this, but let us share our two favorite ways.
These have been tried and tested too, so you don’t need to worry about them not being successful!
You can start by giving your students a ball of play. Allow them plenty of time to get familiar with the clay, feel it in their hands, and maybe even mold it slightly. Next, you will want to share an overview of clay with your students.
This could be done with a presentation, looking at the different types of clay, the stages of it, how to decorate it, and hand-building.
Once you have shared this information with the clay, make sure you move around the room and spend some time with the students, discussing clay with them and looking at what they are doing with it.
To finish the lesson, you will want to get your students to clean up! By making them familiar with the cleaning process at the end of the first day, you don’t need to teach them again.
It also means that you won’t need to worry about there being a mess at the end of your next classes too!
Day 2 – Sketch And History Lesson
For the next day, we want to divide it up into two parts, an Art History lesson, and some sketching.
Art History
For your Art History section, you will want to show your students some pieces of slab pottery. You can search online for some stunning and eye-catching pieces that will engage your students and attract their attention.
Often, history lessons can feel dull, but with art, we can bring them to life!
So why not show your students some outrageous work that is sure to inspire them! You can pick one or two artists depending on how much time you have and let their work do the talking!
You will also want to ask and answer the following questions. You might want to engage your students with some research to find the answers or have them work collaboratively, the choice is yours!
Who is the artist?
How did they get started with art and ceramics?
What would inspire a piece like this?
Artists like Ray Bub and John Mason are good ones to start with and are sure to get your students fired up and ready for the work ahead!
After the initial wow factor, you can show your students the traditional parts of art history and the necessary components.
Slab Building History
Your students must understand the history of slab building so give them a good overview! Start at the beginning, with the earliest slab-built pots believed to be over 18,000 years old!
We find most ancient slabs in Mesoamerica and Eastern Russia, why not include some examples of these in your presentation?
You will want to show students what ancient slab pottery looked like and how it has changed in recent years. You can also include some examples of what the slab building was used for too, like pinch pots.
Sketching The Design
To finish your second lesson, you will want to get your students to start sketching their designs. For sessions with beginners, you will want to lead them through the sketching process, but still, offer them plenty of space to explore their creativity.
To teach the sketching design, break it down into basic parts. You will want to explain in detail each line you draw, along with a visual demonstration.
If you can, use a camera and projector so that all your students can see what you are doing. Make sure you are moving around the room too and offering feedback to your students about their sketches.
Individual feedback will help your students learn as they sketch and find out if what they are doing is correct or not.
Day 3 – Wedging And Slab Rolling
Your third lesson will have your students using the clay again, so make sure to start by reminding them of the cleaning process to ensure the lesson runs and ends smoothly.
Prepping The Clay
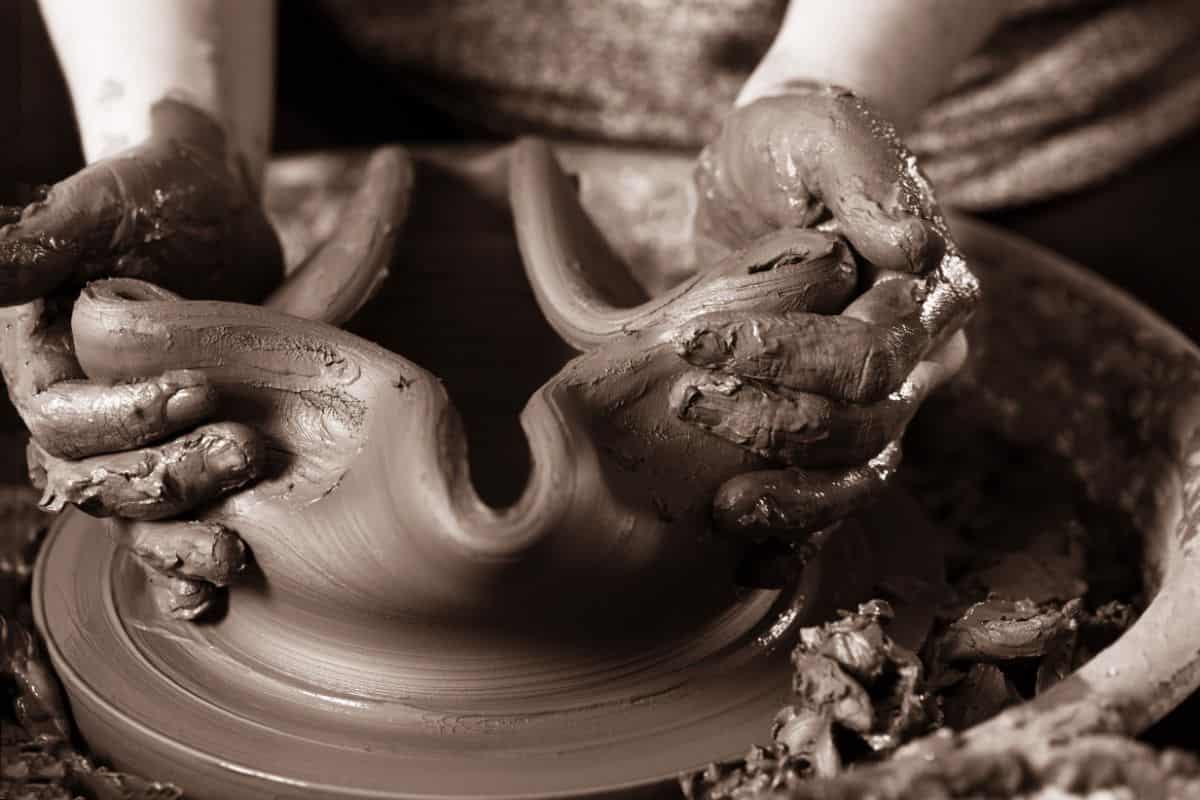
You can begin by preparing the clay for the project using wedging. Clay can dry out between your lessons thanks to the tiny air pockets that appear when you mix clay, so be sure to follow our best practices for wedging clay and follow our steps below:
Start by molding the clay into a ball
Use the palm of your hand to push the center of the ball down and away from your body
Take the side of the clay furthest away from your body and roll it towards you (by picking it up from the edge furthest away and flipping the clay)
Repeat this for a few rounds
While your students knead the clay this way, explain to them how this process helps to soften the clay, remove air bubbles, and ensure that any moisture is distributed evenly.
We find it best to do this on a large canvas board. This helps to keep your surfaces clean and stops any material or debris to get picked up by the clay.
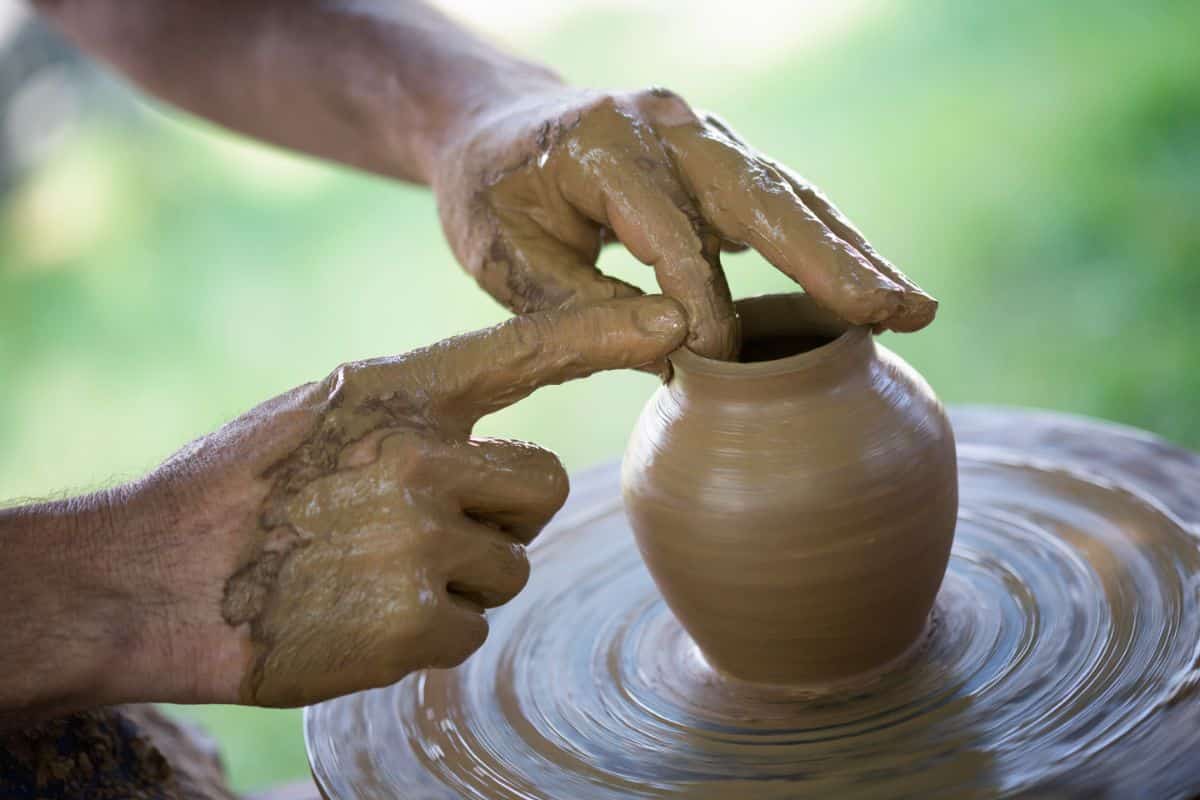
Making The Clay Slab
Next, it is time to make the clay slab! To do this, you want your students to take a piece of clay and shape it into a cylinder or cube. As they do this, remind your students to work slowly.
If they work too quickly they could break the bonds between clay particles, which leads to disaster in the kiln!
Have them stand up with their palm on top of the cube or cylinder they have formed. Next, they can lean on top of the clay which will start to flatten as their weight presses down onto it.
Once flattened, flip the clay to the other side to repeat the process of flattening it with their palms.
We want this to be done roughly four times to ensure that the clay is compressed and flattened. As you repeat this process, the clay will begin to look like a slab.
Keep repeating the process until your clay is roughly one inch thick. As you and your students compress your clay, remember to remind them that larger pieces of clay are more challenging than smaller ones.
Once we have our flattened piece of clay, you will want to even the thickness out. You can do this in one of two ways. Either let your students decide how to do this, or you can present them with what you think the easiest option is, the choice is yours.
Table slab rollers – you can use this to pull your clay through the slab roller, evening out the thickness as it moves through
Handheld clay slab rollers – these are a fine choice if you don’t have a table slab roller and should be used in the same way as a kitchen rolling pin
To finish this lesson, store and cover your slabs in plastic. This will ensure that air doesn’t get into the clay and damage its integrity. After all, we don’t want any air or moisture getting into them overnight!
Day 4-6 – Cutting Your Slabs Stages of Clay, And Assembling It
Days four to six should be spent putting your clay together and is where you should see slab construction take form. We have a construction technique that we have tried and tested to share with you today!
To start, cut your slab into the shape you need for your project. Once all your slabs are cut to the right size and shape, prop the slab into its final place.
You might notice that your slab slumps when you do this. Don’t worry, simply use a box or textbook to support the structure.
Repeat this until all your slabs are in their final place and your ceramic piece has taken shape. You will then want to slip and score the edges of each slab, this will help them meld together in the kiln.
Once the pieces have been slipped and scored, leave the clay alone for the rest of the lesson. Here we want the slab to be exposed to air until it becomes hard like leather.
How will you know when this is done? You won’t be able to bend the slabs and they will stay in place without the need for support from other items (like the books and boxes we used earlier).
Before leaving, have your students drape plastic over their pieces. You will want the plastic to mostly cover the piece, but still have space for air to flow around the clay. Leave the pieces like this overnight.
The next day, you will need to do some maintenance yourself. Don’t worry, this isn’t too time-consuming! Remove the plastic from the projects and examine the clay.
Take a spray bottle and fill it with some water to spray on the sides of the slab where the clay has changed color. You only need a light mist here to help these pieces match the color of the rest of the clay.
Once your students are back, you can have them build any remaining slabs and repeat the overnight process we just went through. This can take some time, so remember to factor this in when planning your lesson.
Day 7 – Refining
We are almost at the end now! To finish, let your students have a chance to refine their work. They might need to adjust their structures, add patterns, or simply check that the structure is in one piece!
Having the opportunity to do a final check of their work before it is fired in the kiln is super important. Once you have allowed for this, you can put the structures in the kiln following the instructions on the clay packaging.
Final Thoughts
And there you have it, a whole week of lessons that will allow you to teach your students how to make a slab building!
These designs can be as simple or complex as you and your students like, so be sure to create something that will be easy enough for them to follow along but still challenging.
Don’t forget to use our tips and steps along the way and have fun too! After all, isn’t getting creative all about enjoying yourself?