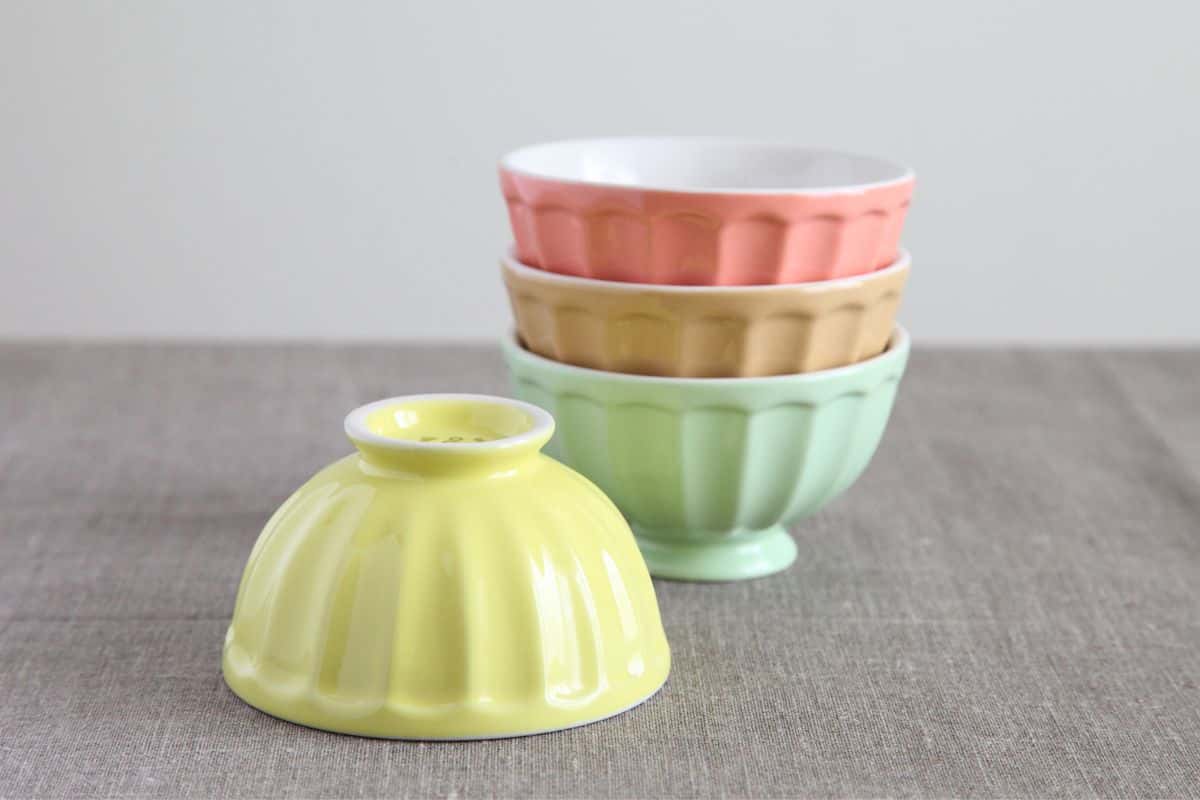
Wax resist is a common product found in studios where pottery and ceramics are made. They help the potter to create a range of different glazing options on feet, lids rims and any other place where you don’t want the glaze to show.
But after you use wax resist, you will need to clean your brushes and other items that came into contact with it.
Using boiling water is typically the easiest method to clean away any wax resist. In this guide, we’ll take you through the individual steps on how to remove any wax resist from containers and wax brushes.
We’ll also share some tips on how to use wax resist in the right way, so you can prevent any mess.
What Is Wax Resist?
Wax resist products provide a water-based coating that is applied on pottery or ceramics to repel any glaze. It stops the glaze or color from sticking to the surface.
Once the kiln is fired, the wax will disappear and only leaves the surface underneath.
There are a vast range of wax resist products available, such as the green Amaco Wax Resist which can be purchased in gallon jugs or pints.
It’s a good idea to buy a premium wax resist of high quality as this won’t fall or peel off when you apply it on top of other glaze.
Unless you only need a one-off, we recommend buying wax resist by the gallon as you will end up using more than you may think.
Saying this, one gallon can last for up to 15 months when it is used on a busy community studio. For individuals, the pint size is probably the right amount.
Good-quality wax resist products contain a dye that allows you to see it when it drips anywhere, or when you want to apply it on bisqueware.
The high-quality wax resists are usually quite thick, so it’s a good idea to mix them with around half of water (check the instructions of your wax resist for the exact mixing ratio).
When it comes to storing your watered-down wax, you can keep it in the container it came in, or alternatively pour it into an old container that also stores your wax brushes.
Make sure that you prevent the wax from drying out in some way. This can be done by creating a notched lid around the brushes.
You will also need to add some water and wax to the container over time to ensure that it doesn’t dry out.
This means that although buying wax resist in bulk is cheaper over time, it does need more maintenance.
Many busy ceramic studios prefer to use the gallon wax resist size, and they can also manage the maintenance process relatively well.
Shared studios and individual studios struggle a little more with the upkeep of the wax resist, so it can happen that a cap is not screwed on properly, or some of the wax resist is spilled.
Saying this, no matter how hard you may try to store wax resist correctly, there is usually always a little wax build up around the brushes and the container.
You can remove this with the boiling water method that we talk about below.
Tips And Tricks On How To Use Wax Resist Correctly
The best way of avoiding any major wax resist clean-ups is through prevention and the right use.
Let’s take a look at some good practices on handling wax resist in the correct way.
Use Wax Resist Economically
While wax resist does come in gallon containers, there is no reason to be careless with it.
Some potters paint wax resist on the bottom of every pot that they make but this isn’t necessarily always a good idea, and it depends on what you are making.
For example, for a large, flat plate, covering the bottom in wax resist can ensure that the piece stays clean and you don’t need to clean it up.
However, if you have a smaller item, then it can be so much quicker to just wipe the bottom with a cloth or a sponge.
Therefore, consider carefully what type of piece you are using the wax resist on. You do not want to waste any energy, material or time.
Water The Wax Resist Down
Good-quality wax resist is very thick, and this should be watered down. The reason for this is that the watered-down wax will dry much faster, and it won’t create any unwanted build-up on your pottery or ceramics.
You do not need a thick covering of wax resist. A thin coat will do.
Your wax resist product will come with individual instructions but typically you need to mix ⅔ of wax resist with ⅓ water. Make sure that you stir the mix thoroughly before you use it.
It’s worthwhile testing the consistency to ensure that it is thin enough.
If it’s still not thin enough, then you may be able to add a little bit more water but be careful not to water it down too much.
Be Careful With Application
When you start to apply the wax resist, make sure that you do not have too much of it on your brush. It should be just enough to create a thin coat on your ware. Avoid any puddles, drips or running lines.
You can remove any of the wax by scraping or sanding the part. Alternatively, you can also use some boiling water on your bisqueware to get rid of the wax resist.
Just remember, wax seeps into the pores of your ware very quickly, which makes it difficult to remove, so when you can avoid any spills or drips, then this is the best option.
In addition, it also means you won’t be wasting any of your valuable wax resist.
Allow For Enough Drying Time
Wax resist needs between 15 and 30 minutes to dry. You need to make sure that the wax is completely dry before you glaze your piece.
Choose A High-Quality Wax Resist
Wax resist is ideal for decorating your pottery and ceramic because it creates a resist effect when you are applying two coats.
But it is important to buy a good quality wax, as cheaper waxes can peel off and some also do not even work on dried, chalky glaze.
Make sure that you shop around for a premium wax with good reviews. These waxes will stay in place and you will find they won’t peel, no matter how many coats you apply.
Use The Right Wax Brush
It’s best to designate a few different brushes as wax brushes. They should stay in the wax resist container or jar.
Make sure that you have a range of different size brushes, so you do not use a too large or small brush to apply the wax resist.
Use A Thin Wax Coat
There are plenty of good reasons why it’s best to apply a thin coat of wax resist, from avoiding any unwanted puddles and drips to being economical with your materials.
There is also another reason why wax resist should only be applied as a thin coat.
Most waxes burn off in the kiln between 200 and 500 degrees. The burning will create a small amount of smoke and it can also release gases.
In order to keep the gases and smoke to a minimum, it’s a good idea to use as little wax resist as possible, especially if your kiln is indoors.
Also, make sure that you vent your kiln regularly to allow any of the gases to escape and avoid the build-up of any toxic fumes.
Use Wax To Prevent Glaze Runs
One of the biggest issues with lids is that the glaze runs off, which can result in the lid sticking to the rim of your pot.
When you add half a cup of Alumina Hydrate to one pint of wax, then to can create a special lid wax.
When this wax burns off during the firing, then it only leaves the powdery remains of the alumina hydrate. As this chalky substance soaks up any extra wax, it can help to prevent glaze runs.
How To Clean Wax Brushes And Jars: A Step-By-Step Guide
It’s a good idea to use only three or four designated wax brushes as you want to avoid any contamination with other substances or paint.
When you place these brushes inside the wax pot, you will notice wax building up around the rim of the jar and the side of the brushes.
Luckily, there is an easy way of cleaning both your brushes and the wax pot. Here is our step-by-step cleaning guide for removing wax resist.
Step 1: Check The Wax Build-Up
If you do not use your wax brushes regularly, then it’s best to check them sporadically to make sure that not too much wax has built-up over time.
The wax jar itself ideally should be sealed but you will find in many busy ceramic studios, the wax is used so often that also wide-mouthed jars work fine.
The best brushes to use as wax brushes are chip brushes. Try to designate a few different sizes of these brushes for your wax application. This will ensure that you always have the right size brush available when you apply the wax resist.
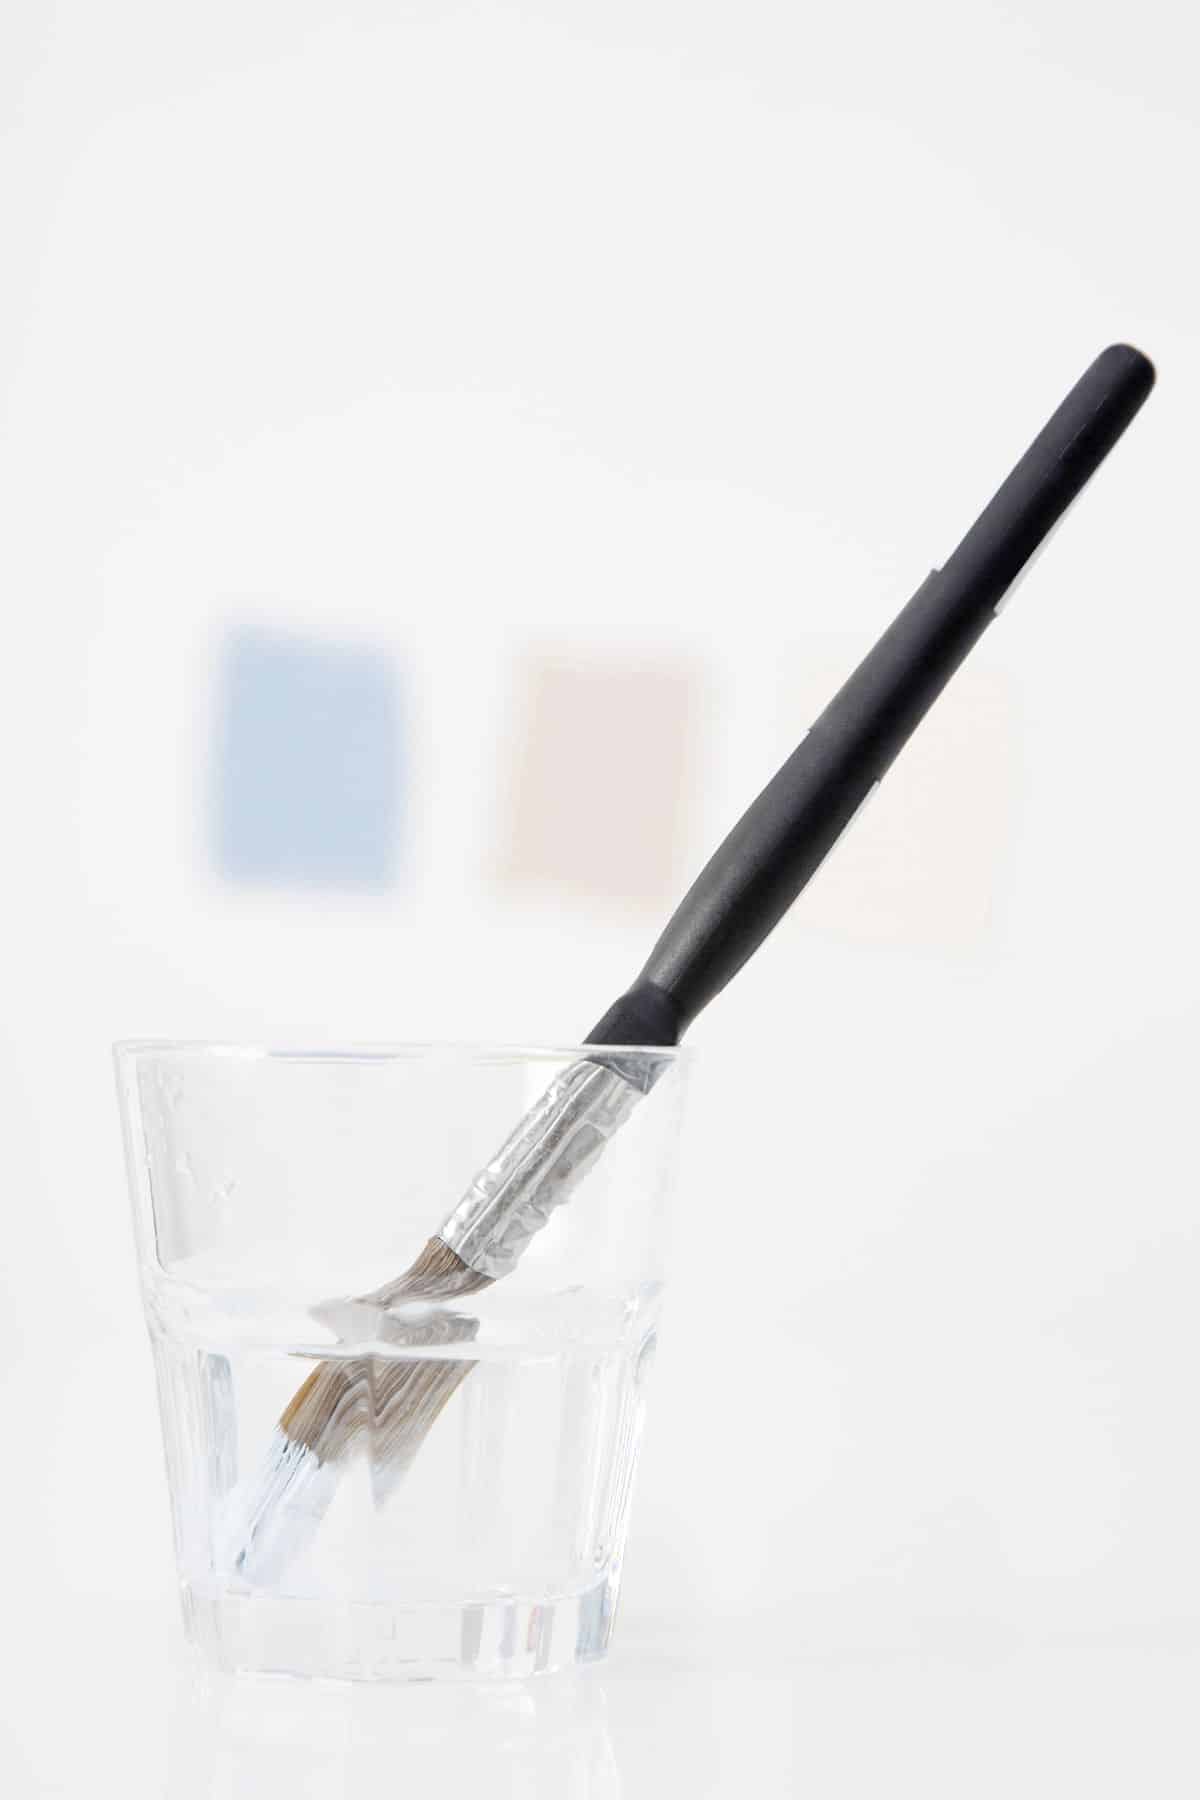
Step 2: Place The Brushes Into Boiling Water
Once you are sure that your wax brushes definitely need a clean, you can take a closer look at each brush.
If the wax buildup is too heavy on a brush, then it is best to cut off the excessive build-up with a knife.
Next, move your brushes to a small plastic container, like a recycled noodle cup or yogurt cup. Anything that can hold boiling water well, and that you can dispose of later is fine to use.
Boil water in a kettle and gently pour it into the cup and over the brushes. Move the brushes around a little bit and use one of the brushes to clean the sides of the other brushes.
Step 3: Finish The Brush Clean
Once you finished cleaning all the brushes in your little plastic pot, you can just set them aside.
You can now dispose of the water and the cup but make sure that you do not pour any wax down the drain.
If there isn’t too much wax left in the plastic container, you could reuse it for your next wax cleanup. It’s always handy to have designated clean-up materials as this will save you having to find a new one.
Step 4: Clean The Wax Jar/Container
Now that you are done with cleaning up your brushes, you are ready to turn to your wax jar. Use a fettling knife and cut off any large wax buildup of wax on the inside of the cut or the rim.
If there is still wax left in the jar, pour it out into another jar or container. Then, pour boiling hot water into your empty wax jar.
Make sure that you will the jar up to the up to the top to loosen any of the thick wax. But don’t let it overflow as you don’t want to end up with any wax on the floor or your work surface.
If your wax jar contains already too much buildup, then you might need to consider switching to a new jar or container.
It’s also worth having a few jars spare as they come in handy not just for wax but also paint and other materials.
Many busy ceramic studios and potteries have several wax jars in use at the same time to ensure that there is never a time when they run out of wax resist.
Step 5: Refill The Wax Jar
Once everything is clean again, you are ready to refill the jar with wax resist and place your brushes inside.
The best way to prevent too heavy wax buildup is to place a lid on top of the jar.
As a rule of thumb, a wax cup can last for at least one year until it needs proper cleaning but if you cover it with a lid, then you can expect it to last much longer.
Frequently Asked Questions
We received a lot of questions about wax resist and how to use it properly. Here are some of the most commonly asked questions about wax resist.
Will Wax Resist Stick To The Kiln?
No, wax resist will not stick to the kiln. On the contrary, it is usually glaze that sticks to the kiln shelves, so when you apply a thin layer of wax resist, you can stop it from sticking.
Wax resist will not leave any residue behind as it dissipates during the firing process.
Can You Use Crayons As Wax Resist On Pottery?
Yes, some people do use crayons on the surface of pottery to make a wax resist design. However, crayon pigments aren’t as reliable as wax resist products.
Sometimes crayon stays on during the firing process, while other times it burns away. This depends largely on the quality of the crayons and their wax content.
Final Thoughts
Wax resist is ideal for any elaborate decorations on pottery and ceramics.
Busy ceramic studios often buy wax resist in bulk which is much more economical but it also means there is more cleaning up required.
Wax resist should be used with care to avoid any drips or spills. If you notice any fresh spills, then just clean it up with a sponge.
For heavy wax buildup, use our step-by-step guide to remove the wax and clean your wax jars and brushes with boiling water.