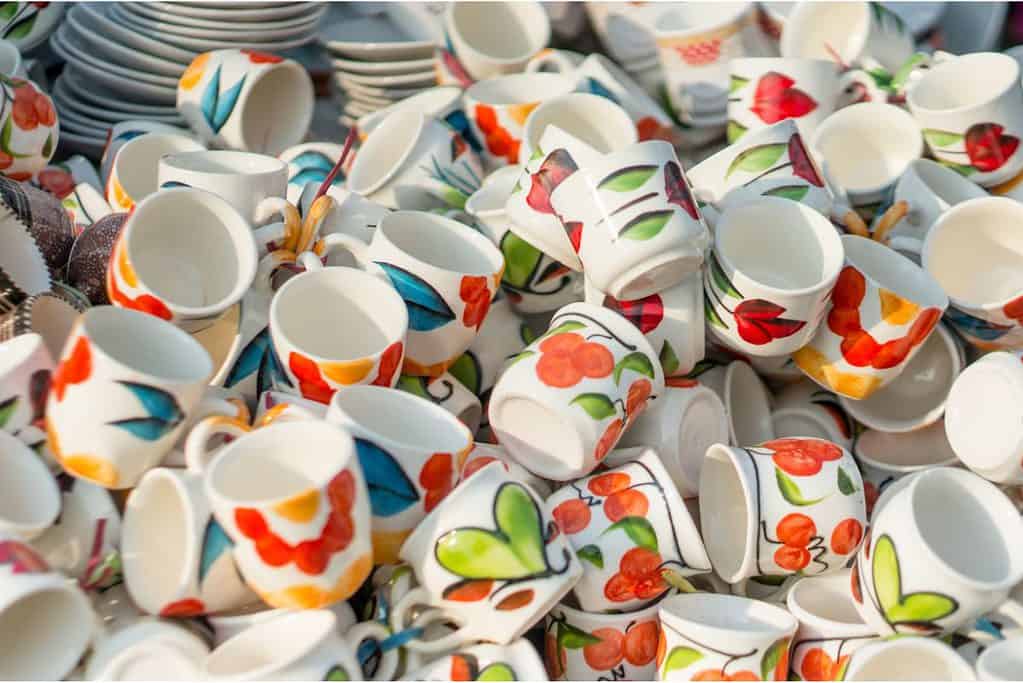
Making your ceramic mug is only one part of creating beautiful, practical pottery. Once you have shaped and fired your mug, it is now time to paint it.
This is often considered the more fun and creative part of pottery, however, it can be incredibly difficult to know where to start and how to get the best results that really make your pottery look great for a long time.
With the right supplies and technique, you can create beautiful and fun designs that will last, no matter how often you use or wash your ceramic mug. In this article, we will show you an easy step-by-step guide to painting your ceramic mugs.
Supplies For Painting Mugs
The first step in painting your ceramic mug is making sure that you have the correct supplies to allow you to create the best designs and finishes possible.
There are a few things that you will need no matter what method you end up using to paint your mug and a few that are specific to each method.
No matter which method you choose to paint your mug, you will need wadded pads, such as cotton wool pads that you might use to remove nail varnish or makeup. You will also need to obtain a degreaser such as white spirit, nail varnish remover, or ethyl alcohol.
These items will be used in the preparation of the mugs prior to painting. You will also need the correct paint for the method that you choose, whether that be acrylic paint, ceramic paint pens, or nail polish.
Whichever paint you choose to use, make sure that you select high-quality paint that will help bring your design vision to life. Finally, you will need paint brushes in various sizes if you are using acrylic paint.
Again, these should be high quality to avoid the hairs falling out and affecting the finish of your mug.
Additional optional supplies include masking tape that can help you to create designs that require clean and crisp lines if you don’t trust yourself to do it by eye.
How To Prep Your Ceramic Mug
Before you apply any paint to your ceramic mug, you must take the time to prepare the surface so that the paint behaves in the way that you want it to.
If you don’t adequately prepare the surface of the mug, your paint may slip on the surface or become patchy or less uniform in appearance, particularly when it dries.
The most important part of preparing your mug for painting is to remove any grease that may be on the surface. To do this, simply dampen a cotton pad with the alcohol rub of your choice and gently work it over the surface of the mug.
Make sure that you cover the entire surface, and avoid touching the mug with bare, unwashed hands during or after. You can wear disposable gloves for this step and painting if you wish. It is also important to not use too much alcohol during this step, simply making the cotton pad moist but not soaked is enough.
Once you have degreased the surface of the mug, allow the alcohol to dry in the air. This shouldn’t take more than five minutes as rubbing alcohol evaporates quickly. Once it is dry and you avoid oils from your hands transferring to the surface, you are ready to start painting.
Method One: Acrylic Paint
Acrylic paint is a water-based product that can easily be applied to any ceramic surface without the need for additional kiln firing. It is also an affordable option that is readily available in most craft retailers.
Acrylic paint comes in a wide variety of colors and shades that allow you to create pretty much any design that you can think of. For this method, you will need acrylic paint, paint brushes, masking tape, and a pencil and eraser.
You will also need something to protect the surface that you are working on such as newspapers or an old bed sheet.
Prepare Your Work Space
You have already prepared the surface of your mug with the alcohol rub, now it is time to prepare the space that you are going to be working in.
If you are painting your ceramic mug in a studio of some description, protecting your work surface is less important than if you are using your kitchen table.
Make sure that you cover the entirety of the surface with your newspapers or old bedsheet, and fix them in place with tape. If you are using newspapers on a surface that is important to you, you might want to use multiple layers of paper to ensure adequate protection.
Prepare Your Paint
Using a paint palette, pour out the colors that you intend to use in your design. You can create new colors or shades by mixing small amounts of the colors you have together on the paint palette.
If you don’t have a paint palette, you can use a paper plate to keep your paint on. It is important to make sure that you don’t pour out too much paint or it may end up drying out and you might end up wasting some of your paint.
While acrylic paints aren’t overly expensive, you still don’t want to waste them unnecessarily.
Sketch Your Design
This is where your pencil and eraser come into play. If you are doing a very simple design such as spot painting or equal stripes, you can probably skip this step or just use tape to keep your lines straight.
Marking a more complex design on your mug with light pencil lines is the perfect way to ensure that you don’t make any irreversible mistakes when you are painting.
The pencil can easily be erased if you go wrong or want to change something before you start applying paint to the surface.
Apply The First Layer Of Paint
Now that you have prepared your mug and work surface, poured out your paints, and sketched your design, it is time to begin applying paint to your mug. Slow and steady wins the race when painting pottery.
Mistakes can be very difficult to rectify and can result in an undesirable outcome. Use the smallest brush that is reasonable for the area that you are painting each time and take your time when creating clean edges.
Remember that you can always add more layers of paint, but it is very difficult to remove excess paint neatly from your mug.
Complete The Painting
Once you have finished your first layer and you are happy with your design. It is time to add additional layers to your paint.
You can simply paint over the first layer with the same colors to create a more uniform color throughout the design, or you can begin to layer different colors if that is the aesthetic that you are going for.
At least two layers are often required to generate a clear, uniform color on the mug.
Naturally Dry The Mug
Once you have finished painting the layers on your mug, it is time to allow the paint to dry.
Don’t worry about any errors or imperfections that you might be able to see, although it may be tempting to try and fix them immediately, the wet paint can quickly become ruined if you go in trying to fix things.
Leave the mug in a cool, dry place for at least 24 hours to allow it to dry thoroughly.
Fix Errors
Now that the paint is dry, you can properly see what the design looks like. This is the time to fix any small errors or imperfections that you can see. This can include cleaning up edges or removing smudges.
To do this, simply dip a Q-tip into your alcohol rub and remove the smudges or blurred edges. Note that this only works to clean unpainted areas of the mug. The alcohol will also remove other layers of paint.
Bake And Wash
Once you are happy with your design and have cleaned up the edges and errors, it is time to seal your design. Simply place the mug on a baking tray and put it into a preheated oven at 350 degrees Fahrenheit for around 30 minutes.
Remove the mug and allow it to cool. Once the mug has cooled completely, you can wash it with dish soap and warm water. Don’t put it in the dishwasher as the heat and pressure of the water can affect the design of your mug.
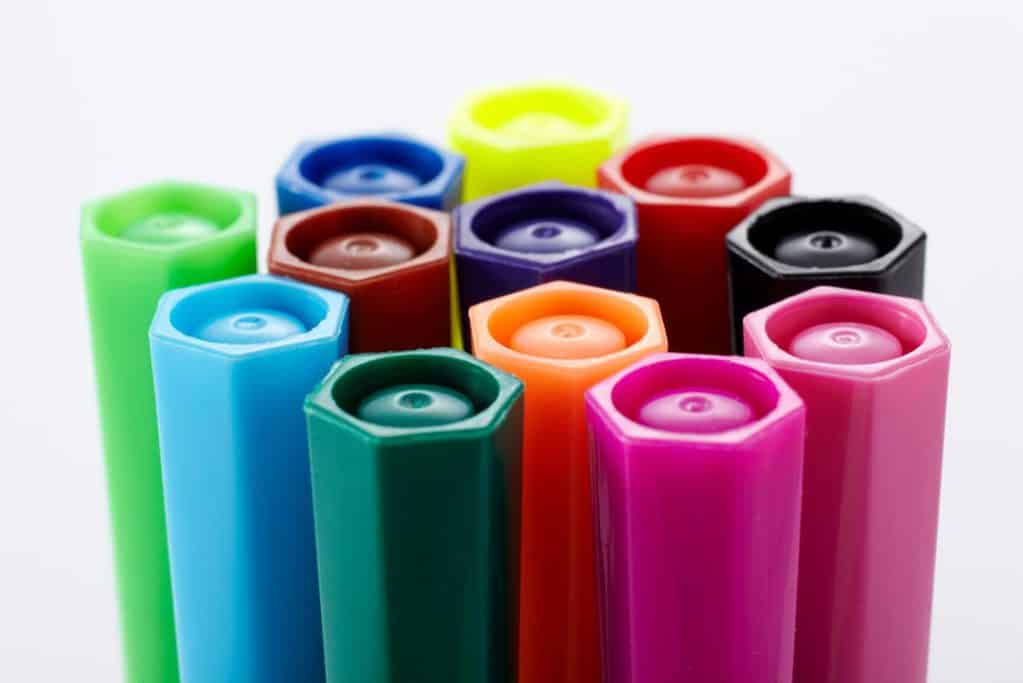
Method Two: Paint Pens
Paint pens are a great option if you want to create a line drawing type of design or if you feel more comfortable using pens rather than paint brushes.
There are so many varied and stunning designs that can be created with this method without the need for multiple tools and the mixing of colors. Make sure that your paint pens are oil-based to get the best results.
For this method, you will need newspapers or an old bed sheet to protect your surface as mentioned above, a pencil and eraser, and a paper towel or two.
Before beginning, this method of painting, ensure that you prep your work surface in the same way as in method one.
Now You Can Sketch Your Design
Although this step is less important with the paint pens method than it is with the acrylic paint method, it can still provide you peace of mind, particularly if you are attempting a more complicated design.
Simply use your pencil and eraser to lightly sketch the pattern or image that you are going to paint on your mug. Once you are happy with your sketch, you can move on to the next step.
Apply The First Layer
Using your paint pens, draw over the lines that you have drawn in pencil to bring your design to life. To ensure that the pens dispense a good amount of paint with each stroke, you may need to test them on your paper towel first.
If you make any errors during painting, do not try to erase them with your eraser as this can smudge the paint and affect the overall quality and look of your mug.
Once you have finished painting your design with your pens, allow the first layer to dry before adding more.
Complete Your Painting
After completing the first layer of your design, it is a good idea to add at least one more layer over the top. This helps to guarantee that the colors look uniform throughout the design.
Between each layer, it is important to make sure that you allow the previous layer to dry by waiting a few minutes. Make sure that you are only layering the same colors over each other, mixing the colors can alter the appearance of the paint and design in a way that you don’t want.
Fix Errors Or Imperfections
Once you have finished applying the design to your mug, it is time to look for any areas where you may have smudged the paint or made an error in the design.
If you see any small errors or imperfections, simply dip a Q-tip in your rubbing alcohol and gently dab or rub the paint that you wish to remove.
You can also remove any visible or unused pencil marks with your eraser. It is important to remember that this error removal technique is only really suitable for small errors or smudges rather than larger areas that you dislike.
Now Dry The Mug
Once you are happy with your design, place your mug in a cool, dry place and leave it to dry for at least 24 hours. If you have painted near or on the bottom of your mug, you should put it on a sheet of newspaper to protect the surface that it is on.
Bake And Wash
Once you have allowed your mug to dry fully, it is time to bake it in the oven to make sure that the design is long-lasting. Place the mug on a baking sheet and place it into a preheated oven at 375 degrees Fahrenheit for at least 25 minutes.
After 25 minutes, turn the oven off but leave the mug inside. You should leave your mug inside the oven for around 2 hours, after which you should remove the mug and allow it to cool completely.
Once the mug has been baked and cooled, wash it by hand with dish soap and warm water. Again, avoid placing your mug in the dishwasher to protect the design.
Method Three: Nail Polish
The final method in this guide is painting your ceramic mug with nail polish.
While this may sound unusual, especially if you already own and use acrylic or paint pens, the effect that you can achieve with this method is unlike the designs that you can create with the other painting methods.
For this design, you will need a small plastic bowl, some warm water, toothpicks, and of course, nail polish. Again, make sure that you have protected your work surface adequately before beginning this method.
Now You Can Prepare Your Paint
Preparing the paint for this method is slightly different from the preparation required for the acrylic method. Take your small plastic bowl, ensuring that it is big enough to fit the mug that you want to paint. The bowl should be deep enough to fully submerge the mug.
Fill the bowl with warm water. Take your nail polish and put a few drops of it into the warm water. You can add more than one color to create different effects. Keep adding drops until you are happy with the color in the water.
Mix Your Paint
Using a toothpick, very gently swirl the nail polish around the surface of the water. This step is important even if you are only using one color as it helps to create a unique pattern in the water.
Make sure that you are not being too rough with the toothpick as you want the paint to remain on the surface and create a pattern rather than mixing the colors.
Dip Your Mug
Holding your mug on the inside, using tension through your fingers, dip it into the water. This should be done slowly and in one smooth motion to achieve the best result.
Keep the mug submerged in the water for a few seconds to allow the paint to adhere. Remove the mug from the water in a smooth motion again and keep the mug straight once it is removed. Place it onto a smooth surface to help keep it straight.
Dry The Mug
Leave the mug in a cool and dry place for around 24 hours. Refrain from touching the mug while the paint is still wet as you will disturb the unique design of the paint and may be left displeased with the result. 24 hours should be ample time for the paint to dry.
Wash The Mug
This design does not require baking, therefore, once the paint has dried you can wash the mug by hand. Again, use dish soap and warm water to wash the mug inside and out, and then it is ready to be used. Avoid placing the mug in the dishwasher to preserve the design.
Final Thoughts
There are three main ways to paint a ceramic mug, all of which garner different results and effects. Whichever method you choose when painting your mug, this guide can help you to achieve the best results possible for your pottery.