There is something satisfying about knowing that a piece of ceramic has been made entirely by hand without the help of modern technology.
If you want to know more about these techniques then you are in the right place. We have put together this list of the 12 best techniques for coil pottery and hand building clay.
Keep reading to find out more.
1. Pinch Pots
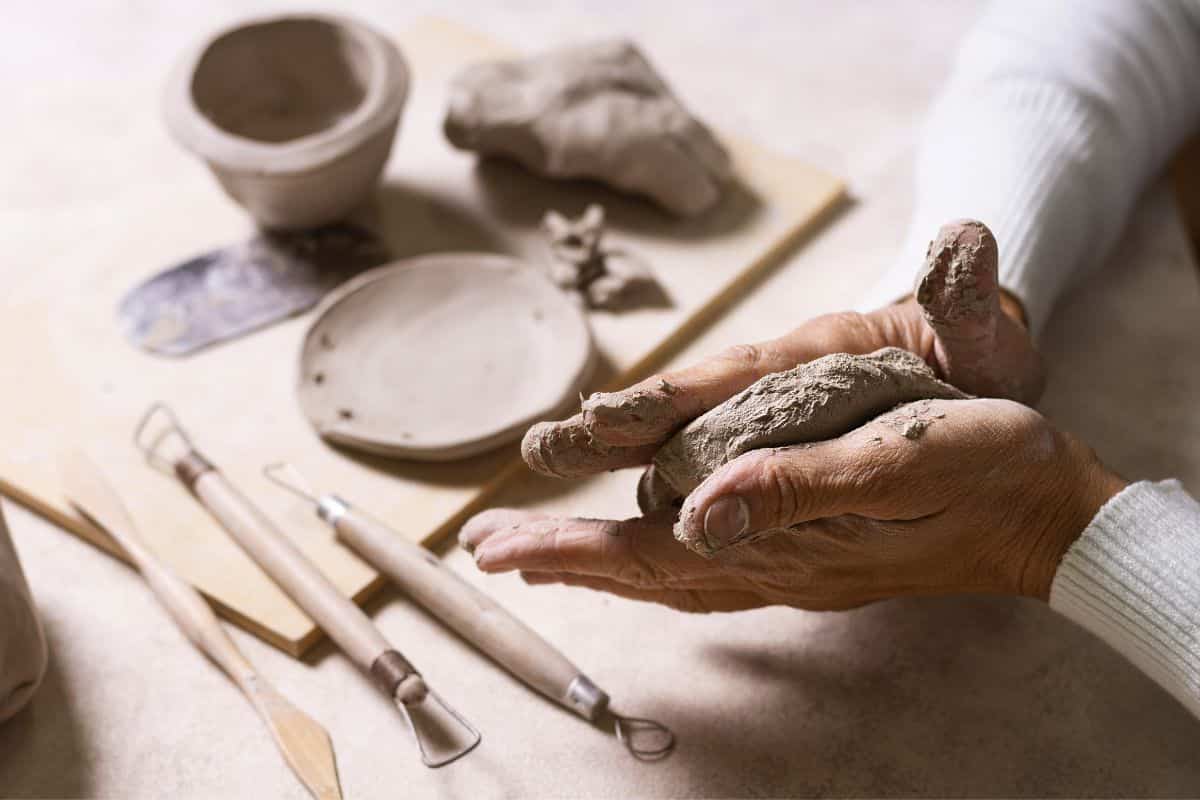
Pinch pots are extremely basic, but can still be very impressive. This technique has been used for thousands of years and there are some excellent examples of pinch pots from various ancient civilizations.
You begin with a lump of clay that is about the size of your fist.
Press your thumb into the center of the lump to create an indentation, then continue pressing and pinching to make it bigger and to create the walls of the pot.
It takes some practice to create walls with an even thickness and a smooth texture.
2. Patting Slabs
You can use your hands to create a flat disc of clay to form the bottom of your ceramic. Begin with a ball of clay, and use a patting motion with your hands to gradually flatten it into a pancake.
Feel for any lumps and bumps with your fingers and flatten them to create a smooth and even surface.
You can press, pinch, pat and slap to create the desired shape and thickness. From this case you can then use other techniques to build up the rest of your piece.
3. Rolling Coils
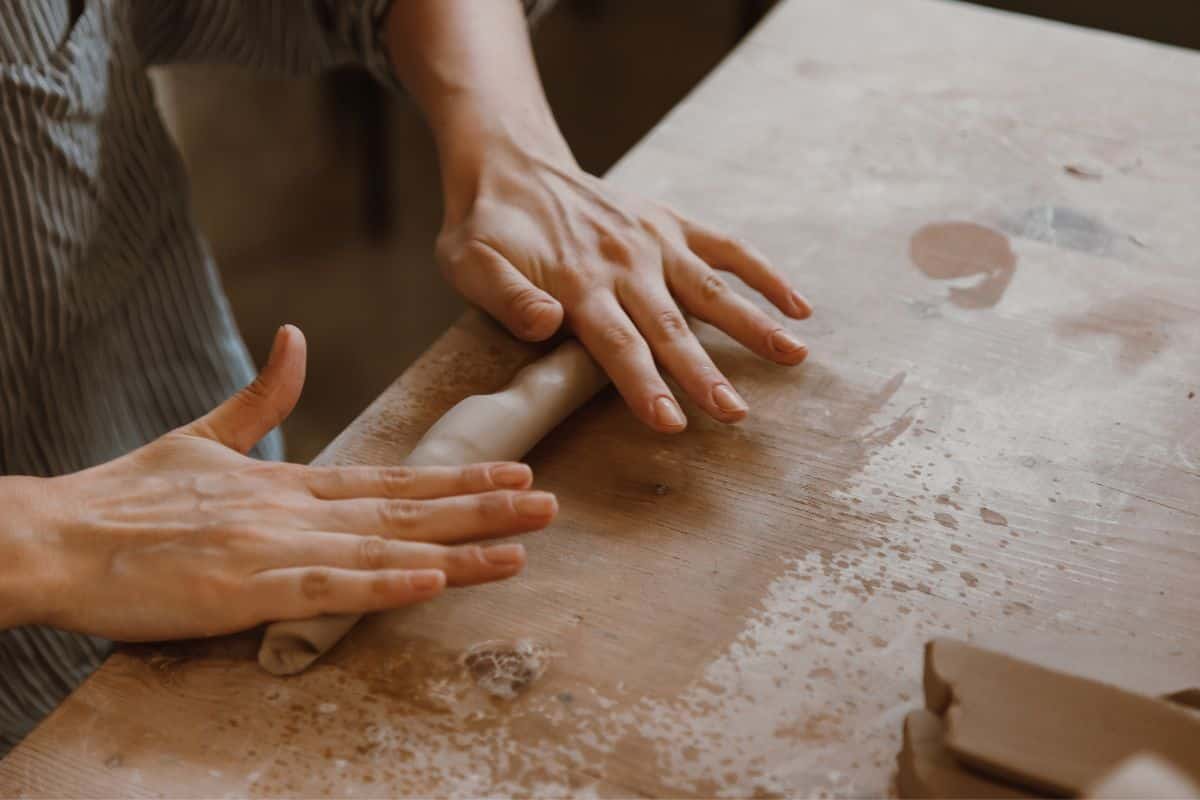
One of the most straightforward techniques to learn as a beginner is rolling coils.
Once you get the hang of it and perfect it, this technique can be used to create complex and beautiful ceramics as well as more simple pieces.
The trick to rolling coils is to ensure that they are of even thickness. You shape the clay into a sausage shape by rolling it with your hands, applying even pressure.
You can then shape the coils and layer them on top of each other to create your ceramic. You can then use different tools and your hands to smooth out the edges of the layered coils of clay to create one piece.
The bonding pinch is what joins the coils of clay to the base, giving your ceramic structural integrity. If your bonding pinch is poor, then your ceramic might crack or break in the kiln.
There are several ways to perfect the bonding pinch, but most people use their index finger to apply pressure on the outside of the ceramic to push the base into the coil and join them together.
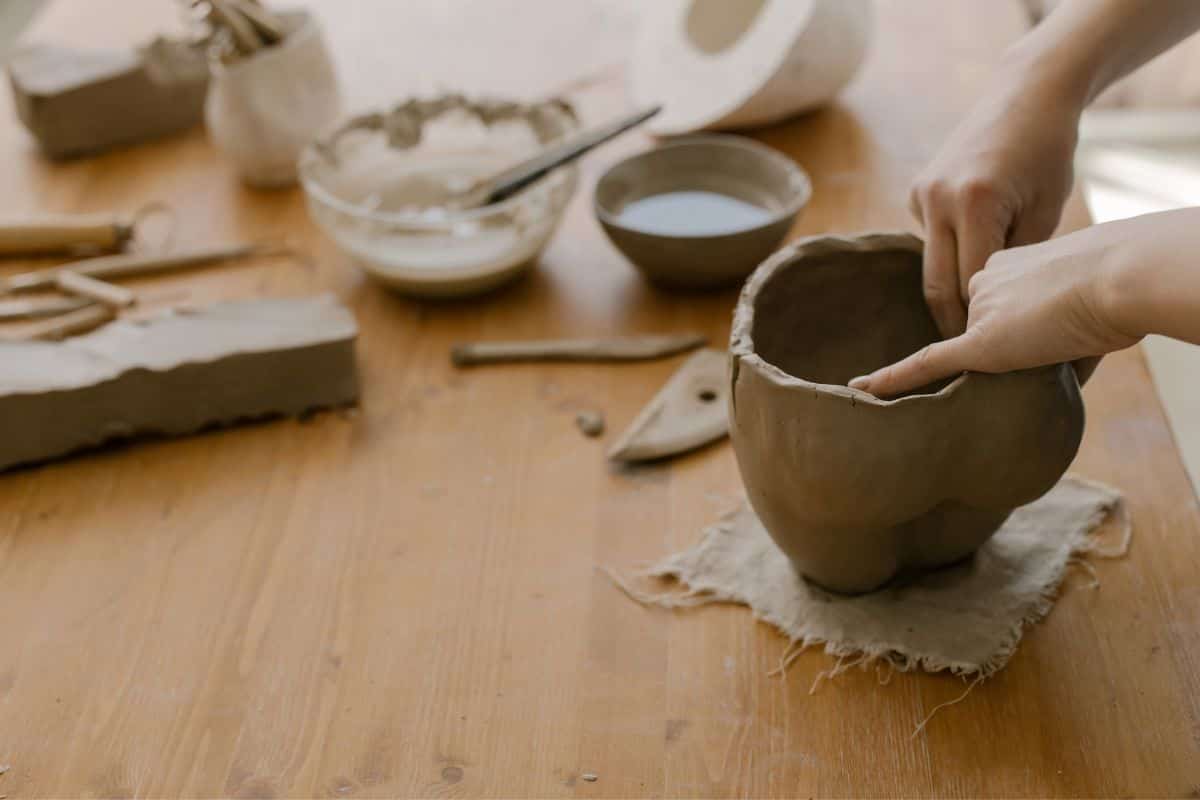
5. Pushing Out
You can shape clay by pushing from the inside out to change the form of the piece. You can use tools or your hands to achieve this technique. This takes some practice and relies on your feel and creativity.
You need to gain an understanding of the pressure needed, the thickness of the clay and how to move your hands to create the shape that you are imagining.
This works really well for wide pieces where you have a lot of space to fit and maneuver your hands inside the piece.
6. Flat Pinch
You can use the flat pinch technique to make the clay thinner. Place the thumb and forefinger of your dominant hand on either side of the clay.
Apply pressure, whilst using your non-dominant hand to turn the piece so that you can work all the way around it.
You will need to practice this technique to develop an instinct for how much pressure to apply to the clay in order to achieve an even thickness.
Once you build up this skill, you will be able to create ceramics that are thicker at the base and gradually become thinner etc.
7. Compression Pinch
If you are rolling coils to create the basic shape of your pottery, the compression pinch will come in very handy when it comes to smoothing it out and creating details like a narrowed top or the mouth of a jug.
It is similar to the flat pinch, but you use both hands instead of the thumb and forefinger. This allows you to shape larger areas of clay at once, creating pleats and folds.
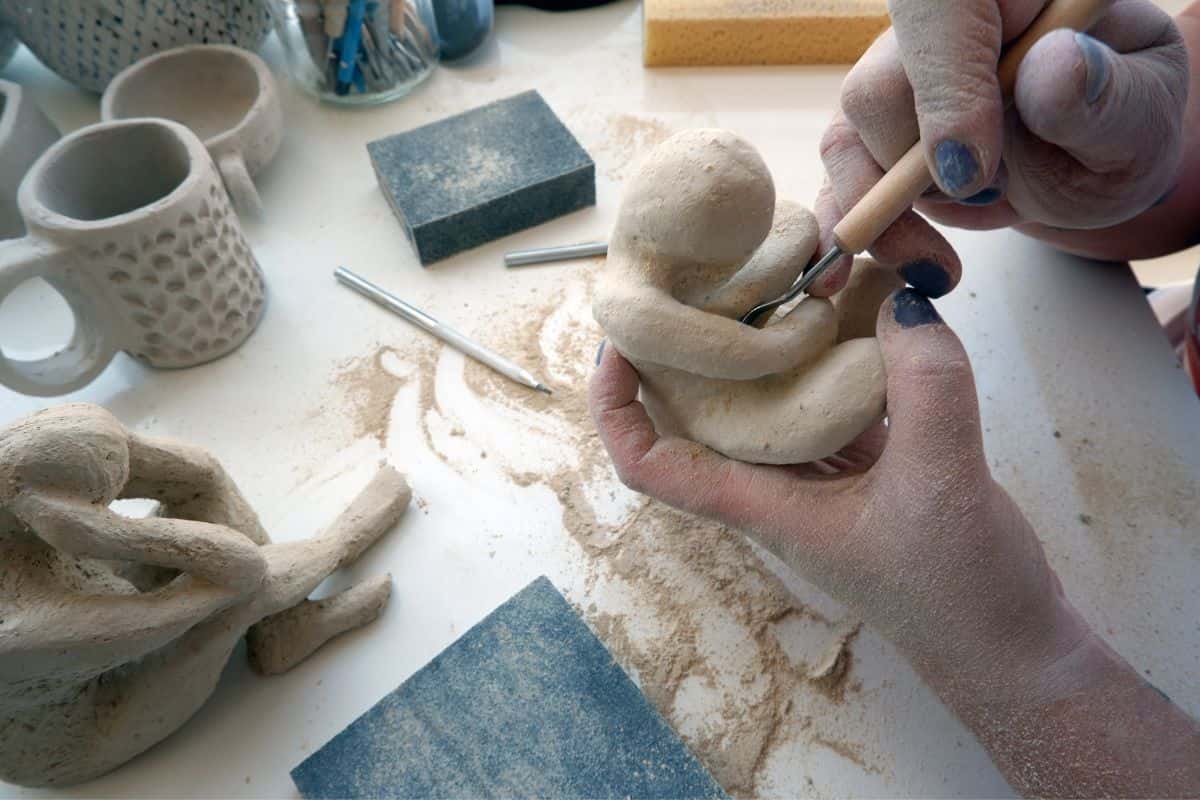
8. Scraping
Scraping is a very important part of handmade pottery as it gives your ceramics a smooth, neat edge.
A scraper tool is run along the clay to remove lumps and imperfections from the surface, creating a uniform appearance and texture.
You need to apply even pressure in order to smooth out the surface of the clay without changing the shape of the ceramic.
You will usually scrape your piece twice – once after you have completed the rough shape and the clay is still soft, and again when you have fine tuned the shape and let the clay set for a while.
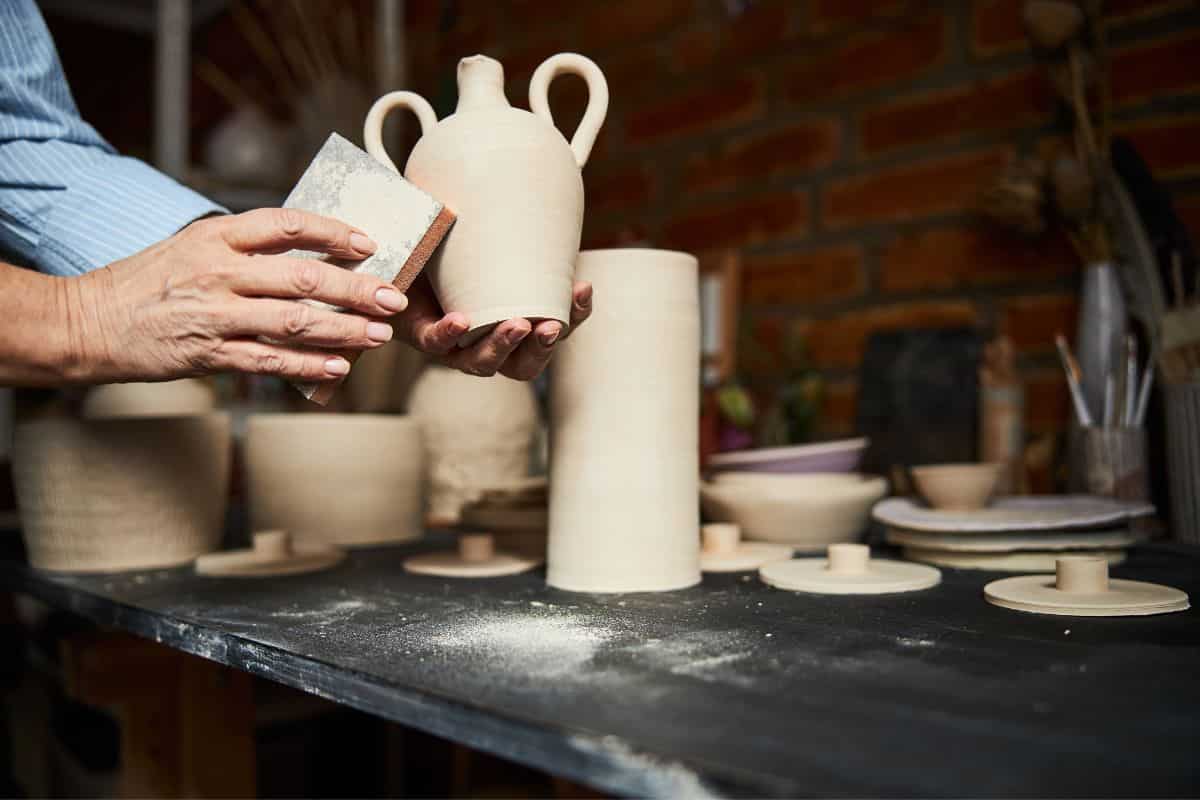
9. Sanding
Another way to achieve a smooth surface is by sanding your pot. This is a more modern technique that was developed in the twentieth century. It requires quite a lot of effort, and it makes a lot of dusty mess.
Whilst this method is fiddly, it is great for achieving smoothness and a shinier appearance, and can be used to cover or correct errors made with pinching or scraping.
10. Stone Smoothing
Stone smoothing is a more traditional alternative to sanding. The clay needs to be nearly dry, but not completely dry.
A stone is used to smooth the surface of the clay, removing any bumps and ridges left over from building up coils or from pinching etc.
It also gets rid of any marks left by the scraper, creating an even surface to paint. You can wet the stone if you need to add a bit more moisture to the clay.
11. Stone Polishing
Stone polishing is different to stone smoothing. Stone smoothing creates an even surface, whereas stone polishing gives the surface gloss and shine.
The clay needs to be almost completely dry, and you should use faster strokes than stone smoothing. Your movements do not need to be as precise.
Think of it as when you buff a surface after cleaning it – the hardest work is already done, you just want to reveal that shine.
12. Slipping
If you want to make pottery by hand, the best types of clay to use often come in colors that are not very desirable. The clays that come in nice colors are not great for hand building techniques.
What you can do to get around this problem is create your ceramic using a good clay for hand building, then coat it in a ‘slip’ of another kind of clay in a different color.
You can apply this slip of clay with cloth or with a paintbrush.
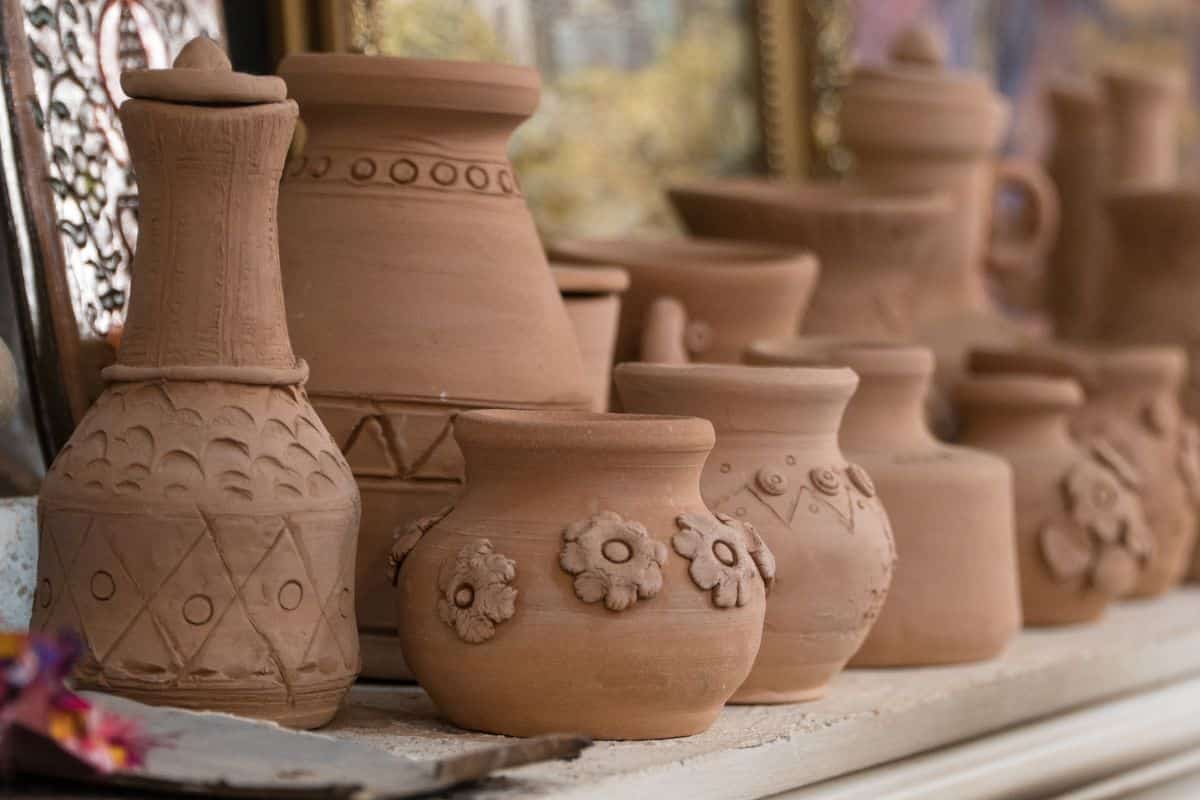
Decoration
The 12 techniques described above are for shaping your pottery, but another enticing factor of handmade pottery is that it can also be decorated by hand.
You can use various stamping tools to create patterns and indentations, or you can use other items that are less conventional- a piece of jewelry in a shape that you like, a shell that you found at the beach, a leaf or a piece of bark. Get creative!
There are also different methods you can use to color your pottery – polish, paints, glazes, slips, stains and more. Experiment with the different methods to see what you enjoy and what suits your pottery.
Extra Tips For Hand Building Pottery
Now that you know more about the different techniques you can use to make pottery by hand, here are some tips and tricks to remember.
Prepare the clay – remember to prepare the clay before you start working with it. There are different techniques for this such as smacking it, patting it, rolling it. Clay is a natural substance that often contains a lot of air bubbles. You want to remove the air from the clay so that it doesn’t bubble or crack when it goes into the kiln.
Don’t forget about the bottom of the pot – When you are smoothing, scraping and sanding the pot, don’t neglect the bottom. You don’t want to take your pot out of the kiln and realize that the bottom surface is still rough and bumpy. You need to be extra careful when smoothing the bottom of the pot so that you don’t accidentally change the shape of the pot or apply pressure to other areas.
Use water to help you – beginners often forget that they can always control the moisture level of the clay. Keep a little pot of water nearby so you can wet your fingers, your scraper, your stone or whatever tool you are using in order to add moisture to the clay. Remember that you can always add more water but you cannot take it away. If you add too much water you will need to wait for the clay to dry in order for it to become workable, so only add a little bit at a time.
Practice – Don’t be disheartened if your first few attempts don’t come out as you planned. It takes a lot of practice to master these techniques and making pottery by hand is a totally different skill to using machinery. You need to develop a good understanding of the clay, the pressure you need to apply, how to move your hands- eventually it will become muscle memory, but this will take time.
Watch videos and demonstrations – As you are learning different techniques, it is a good idea to watch various demonstration videos. This will help you to see exactly how the techniques are supposed to be done, and it will give you new ideas for things that you can try. You should also try to visit various ceramic exhibitions and shops to get inspiration.
Inspiration – You can find inspiration for your ceramics in the most unlikely places. It could be a plant or a tree, a building, an item of furniture, a piece of fruit – if you see something that inspires you, take a photo and save it to look back on when you are working on your pottery. This will help you to create interesting and original pieces.
Summary
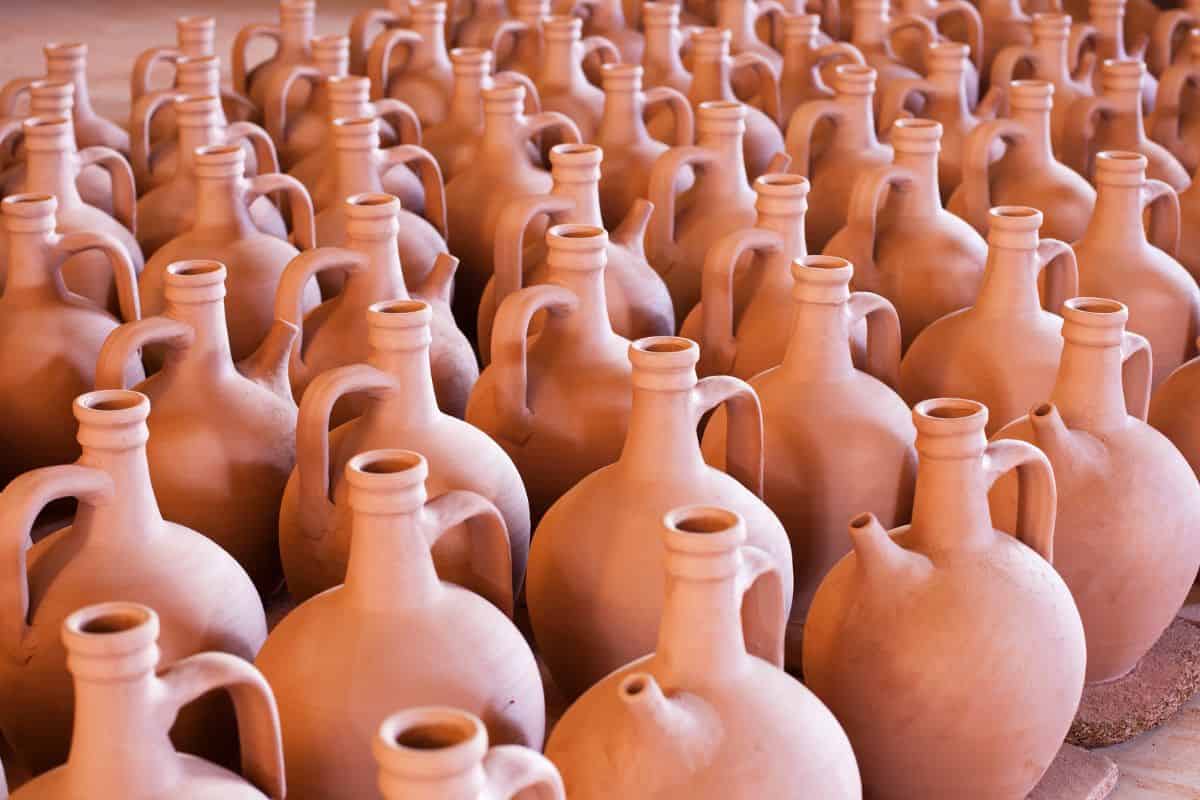
Making pottery by hand is something that humans have been doing for thousands of years.
Some of these techniques are ancient and others are more modern, but all of them give you that feeling of satisfaction that you created something with your own two hands.