If you’ve been wanting to try your hand at some pottery, but there aren’t any classes nearby or somebody that can teach you, we might be able to help.
Below we’ve created a short guide on what you’ll need to get started on making pottery in the comfort of your own home, including supplies, tips, and advice. Keep reading below to find out more.
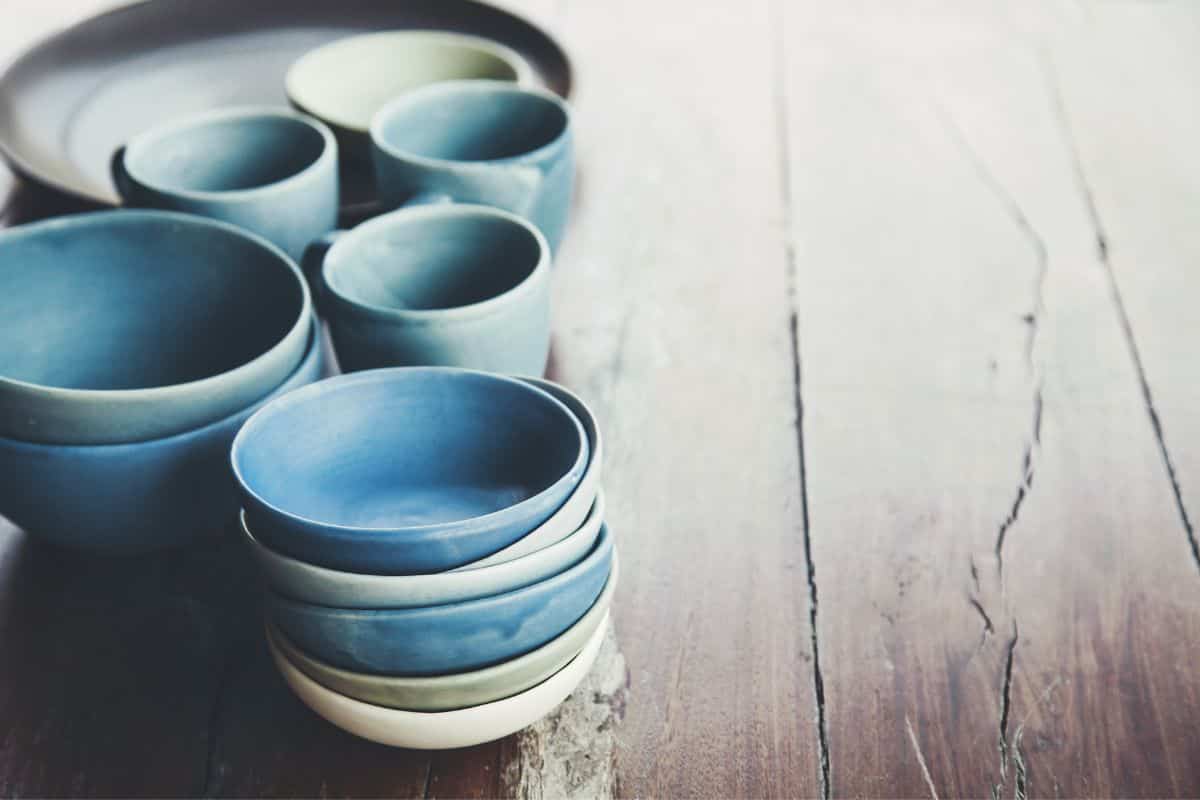
What Is Pottery?
First, let us give a brief description of what pottery actually is. Pottery is artwork that is made from using clay, along with water to create different shapes.
Once the pottery has been shaped, it is then placed in a kiln to be set and hardened.
There are various types of pottery, including using hand-building techniques such as coiling and slab rolling, and also wheel throwing which creates symmetrical shapes.
How To Make Pottery At Home Using A Wheel
To make pottery at home using a wheel, you will need to purchase the following materials:
Trimming tools
Needle tools
Metal rib tools
Rubber rib tool
Wooden tools
Clay wire
Potter’s wheel
Clay
Steps For Making Ceramics At Home
In order to begin making your artwork at home, you must first prepare the space that you are working on by using a sturdy table, and spraying a little bit of water on it so that your project doesn’t get stuck.
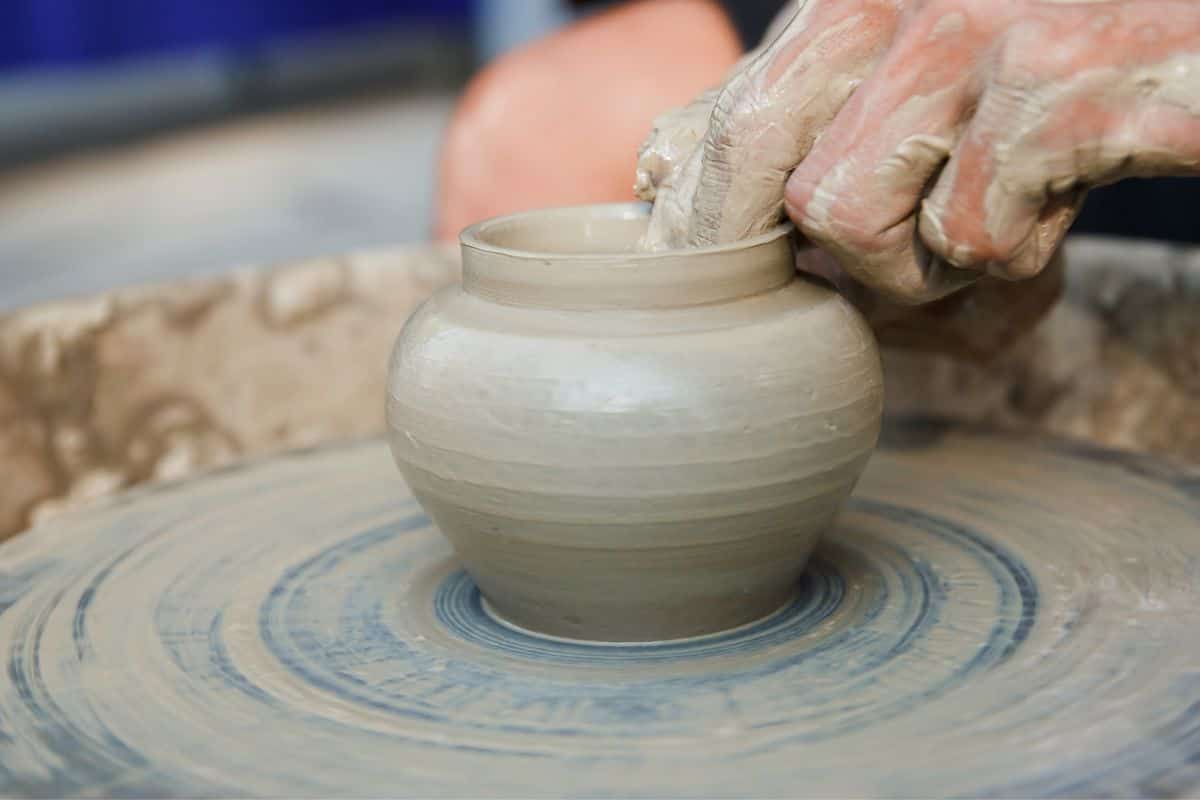
Next you can begin by throwing your clay on the wheel. If you are a beginner, then it is recommended that you start off with a small amount of clay that doesn’t weigh too much. You can use your hands to guide the clay into a symmetrical shape. Slam the clay ball to the center of the bat to get started. Tap into the center when your hands are still completely dry.
After this, go ahead and wet your hands, then you can begin to center your clay whilst the wheel is moving. Move it up and down to ensure that it is in the center. Pull the clay up with one of your hands on both the outside and inside of the pot. Continue to do this until your pot reaches the same thickness all the way around.
You can use a cutting wire to detach the pot, and then store it safely in some plastic. Wait until the clay has dried on the bat, then place it on a new bat in an upside down position. Following on from this, you can use wet clay to anchor the center of the bat, before using a trimming tool to remove any excess clay.
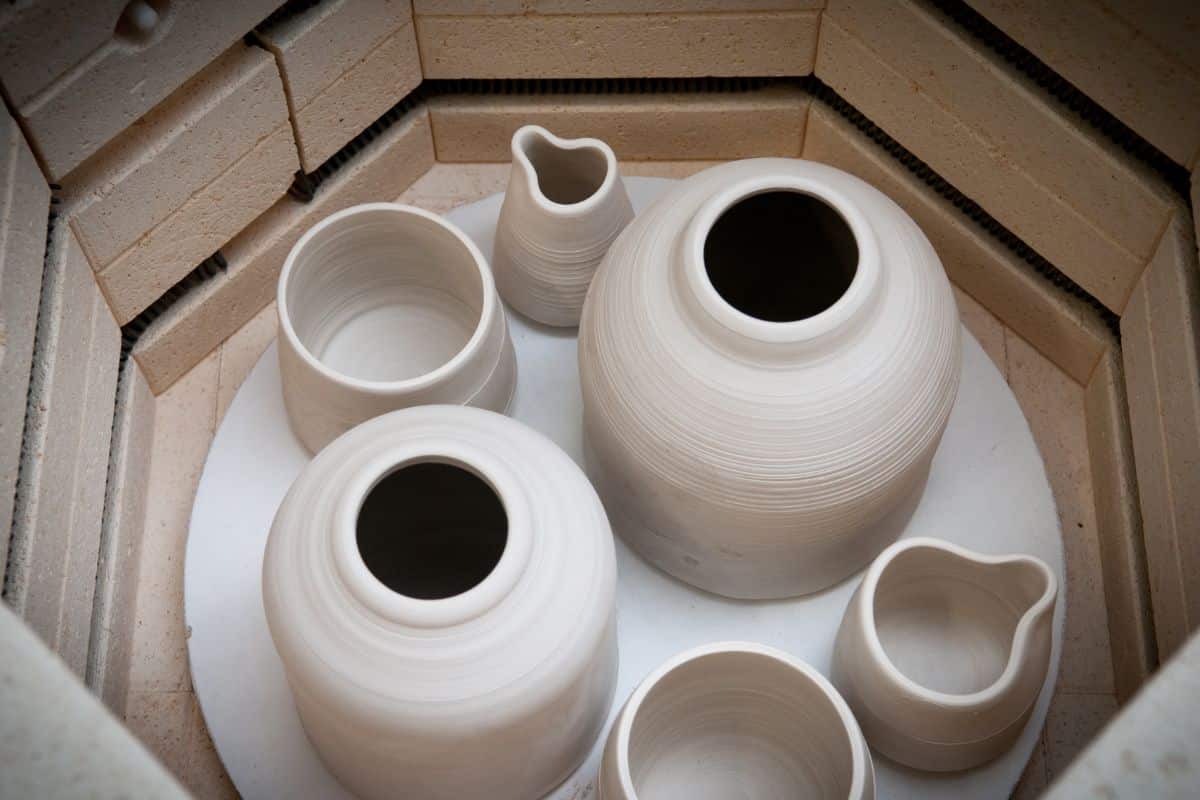
You can then dry your pottery using a bisque fire inside your home kiln. Home kilns are powered by electricity which make them convenient and easy to set up. If you are serious about pursuing pottery, then you should invest in purchasing one of these, especially if you don’t have access to one in the community.
If you want to know more about the different types of clay that can be used for your pottery projects, take a look below. Some are more beginner friendly than others, so take care whilst choosing.
Earthenware
Earthenware clay requires a low fire in order to set. It is a reddish orange color in appearance, and has a high iron content.
It is good for those who are just getting started on their pottery journey, because it is more malleable than other types of clay.
Bear in mind that this quality does make earthenware more prone to chipping.
Porcelain
Porcelain clay is probably the type of clay that people are most familiar with. It is actually tricker to mold, however, as it is denser than other types of clay.
It needs to be fired at higher temperatures in order to set properly, normally at around 2300F. It is pale gray, or white in appearance, and can appear translucent after it has been fired.
The reason why it is so dense is because it is not able to absorb very much water, beginners should bear this in mind as it is a far more challenging type of clay.
Stoneware
Stoneware is probably the most beginner friendly clay that you can purchase. The reason why it is so ideal for beginners is because it has a high plastic content, which makes it incredibly malleable.
It is normally gray to look at, and lightens when it is fired. It is considered an ideal type of clay for making various vessels such as vases, because it’s so shapeable.
Some more advanced pottery makers fire their pottery in a pit-fire, however, this is not recommended for beginners as it takes some level of mastery.
Final Thoughts
Although pottery does take some degree of patience and practice, it is not too difficult to pick up for beginners.
As long as you supply yourself with the proper tools and equipment, then familiarize yourself with them, you’ll be on your way to creating some beautiful pottery.
Start off slowly by making a smaller pot, then build yourself up to larger projects.