If you are an avid lover of all things pottery, or are just getting started on your journey to creating some beautiful pieces of artwork, you may have taken an interest in one of pottery’s oldest styles – coil.
This particular form of pottery was developed thousands of years ago, and is one of the earliest techniques that people used.
If you want to emulate some beautiful pieces of coil pottery that you’ve witnessed in photographs, and are eager to get started and make your own, then this article is for you.
We provide a complete step by step guide on how to create the perfect piece of coiled pottery, as well as giving some background history on this exquisite artform.
What Exactly Is Coil Pottery?
Before we get started, it is important to discuss what exactly coil pottery is, and how it differs from other styles of pottery.
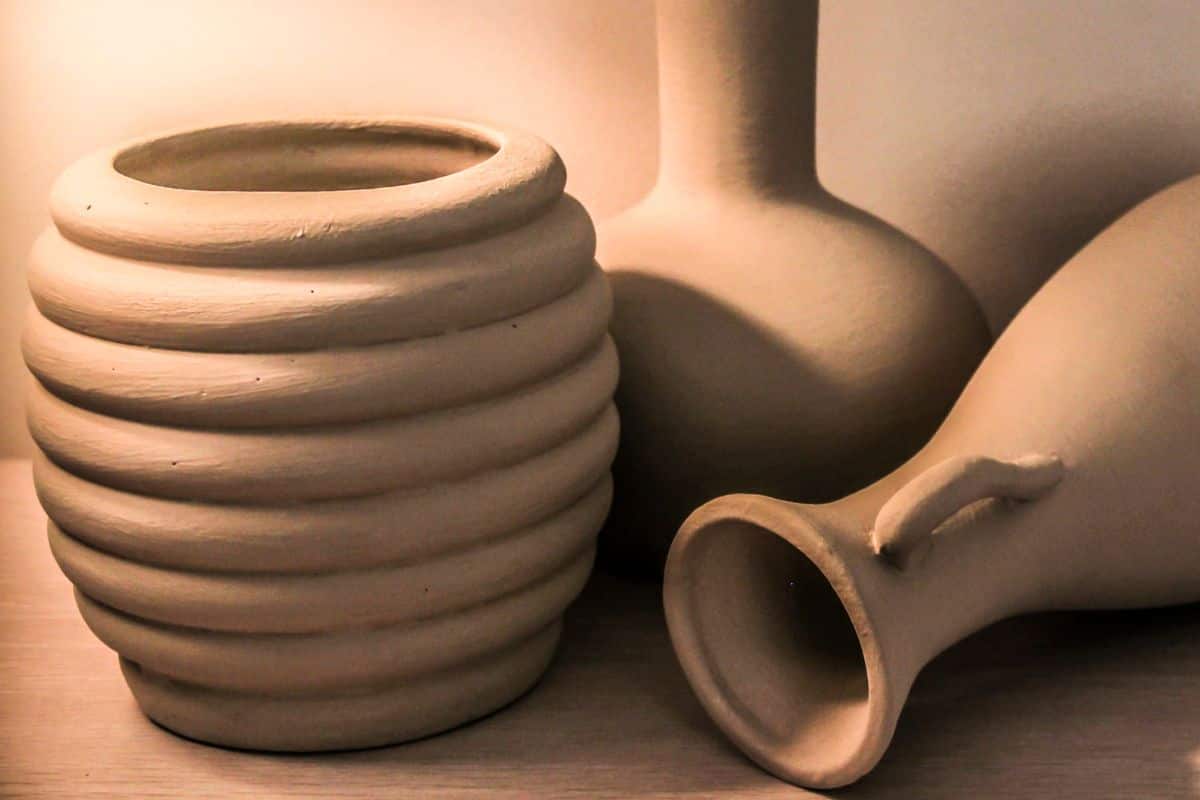
Coil pottery has an incredibly distinctive appearance, and features a method by which the pottery is built by staking or joining the coil on to one another.
It is formed by using clay to form a coil like appearance and then rolled into a very long cylindrical shape. The coils are then placed on top of one another to give them their distinctive shape.
It is a particularly famous kind of pottery that has been used to create a range of different pots, vessels, and other items.
The counties where this style of pottery is most popular are New Mexico, Greece, China, and Africa, all during the ancient eras.
The clay being used must be incredibly soft in texture in order to achieve its signature shape, otherwise the structure cannot be formed.
What Different Types Of Coil Are There?
There are several different types of coil shape that you can utilize to make your design. Take a look below to find out about some of the different coils you can make.
- Triangle Coil – This type of coil starts as a rounded coil that is then pinched in order to create a triangle like shape.
- Flat Coil – A flat coil is perfect for when you are trying to build a pottery wall faster. They are similar ro rounded coils, but are flattened to give them their distinctive shape.
- Round Coil – The most basic type of coil shape, it is cylindrical in appearance.
What Different Types Of Clay Can I Use For Coil Pottery?
If you find yourself wondering what type of clay you should select for your project, we’ve compiled a list of the different types of clay to help you decide.
Earthenware
If you have a limited choice of kilns available to you, then earthenware clay might be the best option as it is a low fire clay. It is also easier to shape and more malleable because it has a plastic base.
This also means that it will hold its shape really well after you have formed it. If you are a beginner to pottery, it is recommended that you start out with this type of clay.
Stoneware
Stoneware is perhaps the most beginner friendly clay out there, even more so than earthenware, because it has a lot of plastic content and nonporous properties.
It is incredibly easy to shape into the design that you’re trying to achieve, and it’s of an incredibly sturdy material.
Porcelain
Probably the most famous type of clay available, porcelain is great to use if you are throwing your clay on a wheel because it’s soft.
You can stretch and pull it really easily too because of the number of clay particles in the body. The clay particles also enable it to create translucent and thinner shapes.
Porcelain can, however, be quite difficult to master for beginners.
One of the reasons why this is, is because you need to be able to determine correctly how much water you need to add when centering your clay on the wheel.
It can be difficult to center the clay properly when you’re starting out, and will therefore take quite a few attempts.
Each time that you attempt to center it, you’ll need to use more water, and this can result in the clay collapsing and becoming too soft.
What Will I Need To Make A Coil Pot?
Before you get started with your pottery, make sure you have the following:
- Spray bottle of water
- Modeling tools
- Scoring tools
- Your clay
Step By Step Guide For Making A Coil Pot
Step 1
First of all, begin by patting the ball of clay you are using to make your pot thoroughly.
You can use your spray bottle to spray down the surface that you’re working on beforehand if you like in order to make the rolling process more smooth.
Make sure that you don’t spray too much water though, as this can negatively affect the consistency of the clay.
After this, take a piece of clay to use as your base and flatten it using either your hands or a rolling pin. After you have done this, you can then cut your base to the required size.
Step 2
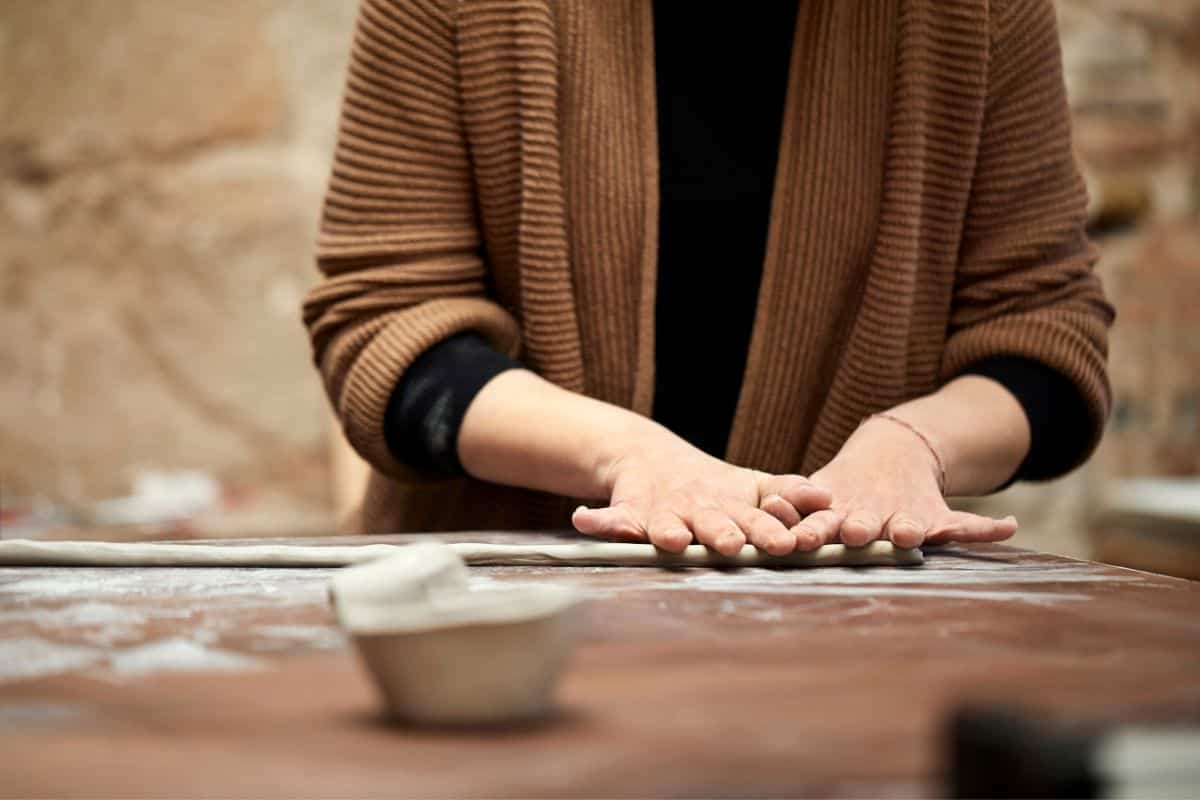
You will then need to begin preparing your coils. Do this by squeezing a piece of clay until it forms a sausage-like shape.
Roll this away from you across the length of the table, and then back towards you again. You must make sure that the clay passes beneath your fingers, all the way through to your palms.
Make sure that you cover your coils after you have finished rolling them because they can dry out easily.
Step 3
Finish rolling the sausage into your desired length. Take care whilst you are doing this so that the clay doesn’t become flattened or misshapen.
Cut the coil to the length that you require, and then repeat the process until you have gathered as many coils as you need for your project.
Step 4
Now you will need to build the walls of your pottery project. Begin by scoring the base of your slab thoroughly so that the clay will stick to it properly. Then you can begin layering your coils on top of the base.
Push the first one on to the base firmly with your fingertips so that it is adequately secured. After doing this, you can add a second coil.
Make sure that you are blending the coils properly as you go, you can do this by pinching the coil on the inside of the slab so that it sticks to the base properly.
Then, after you have added your second layer, make sure that you are smudging it correctly on top of the previous layer by pinching the coil once again.
Step 5
After you are done layering your pot with the amount of coils that you require, you can then set about adding the rim.
You can create your rim simply by taking a larger coil that covers the entire wideness of the pot itself.
Step 6
To dry your pot, cover it with some plastic and then leave it to set for a few days to get the best results.
What Length Should My Coils Be?
This question depends on your individual project, as the thickness of the coil will determine how strong your pottery wall will be.
If you are making a smaller pot, then it is recommended that you make your coils ⅜ to 1 inch in diameter.
If you are planning on making a larger pot, then you should consider making your thickness somewhere between ¾ to 1.5 inches in diameter.
Tips For Creating The Perfect Coil Pot
If you really want to make sure that your coil pot is as perfect as it can be, there are a few tips that you can follow to ensure this.
Stop The Clay From Cracking
If you want to make sure that your clay doesn’t crack whilst you are rolling, you need to make sure that you refrigerate the clay after wrapping it in a damp piece of paper or a towel.
Even the most well-hydrated pieces of clay can crack sometimes, so taking preventative measures is the best way to combat this issue.
After wrapping it in the damp towel, you can go ahead and put it in a plastic bag, and leave it to cool overnight. Like we mentioned above, it is also a good idea to spray the surface that you’re working with before rolling.
Make Your Coils In Batches
Another good tip for making coil pots is to prepare your rolled coils beforehand. Simply make a batch of however many coils you require for your project, then cover them and place them in the refrigerator ready to use.
This will save you a lot of time when you’re in the midst of your project, because you won’t have to stop and make more coils in the process.
As you make your coils, make sure that you cover them along the way to prevent them from drying out.
Make Sure To Work In Stages
The pot that you’re working on has the potential to sag if you load it with too many coils in a single pottery session. The weight of it can drag the clay down.
To avoid this, compile your coil pot in stages, adding a few coils each time and then letting them dry overnight. This will ensure that the clay is firm enough to support the weight of the added coils.
It is easy to determine when you should stop adding more coils to your project, as it will begin to droop down, when this happens step away from the project.
To avoid getting frustrated with the waiting period, you can undertake a few coiled pottery projects at a time.
Stop Air Getting Trapped In The Clay
When you are rolling out your clay you should always take care to avoid making hollows at the end.
Hollows can cause unwanted air to get trapped in the clay, and can cause an explosion once it is put in the fire. Instead of hollowing it, simply taper the corners.
Make Sure That You’re Shaping It Properly
Some people make the mistake of using both hands when first attempting to make a coil shape, this can cause the coil to become uneven and misshapen.
Make sure that you start off by only using one hand, rolling it all the way from the tips of your fingers and through to your palms. Using two hands immediately can give you a lack of control over your project.
Maintain The Correct pressure
One of the most important things to take note of in a pottery project is that you are keeping an even pressure throughout.
If you switch the pressure that you are using, it could make the coil longer than you desire.
If your surface has been sprayed with water, and your clay is properly dampened, there will be no need to apply massive amounts of pressure.
Keep Your Coil The Same Thickness Throughout
In order to make sure that your coil doesn’t get flatter on one end, you can use a technique where you simply twist the clay to create a spiral.
After this, continue rolling your coil until it combines once again, removing the flat edges.
A History Of Coil Pots
It is interesting to consider the long history that coil pots have over the centuries. They have been made in several different countries, namely Africa, Asia, Europe, and North America.
Below, we take a look at their history in each of these different regions.
Asia
Coil pottery was practiced in Asia primarily in the Middle East, which is known as being the main region where coil pottery first began.
In 3000 BC, pottery was a huge part of trading culture. Coiling with the primary technique in use because the wheel had not yet been invented.
Women were the people making pottery most of the time, which they did in hours in between looking after their children.
In Japan during 145000 BC, coil pottery began to make its mark. It had such a big influence on Japanese culture, in fact, that this period in time became known as the Jomon period, which literally translates to ‘rope patterned’.
Jomon pottery had intensely intricate designs, and were known for their interesting shapes. The Japanese people would often add other items to their clay to temper it, including lead, fibers, and shells.
Africa
In ancient Africa, clay was mined and prepared primarily by women, before having water added into the substance to make it more moldable.
After the coils had been shaped and placed on the pot, it was heated in the sun. They would then place it in a bonfire to complete it.
Sometimes, incredibly large pots were made that required the person making them to actually walk around the base with the coil in hand.
They would scrape the surface of the base so that the coil would be held securely in place. To finish it off, they would smooth it using their wet hands.
Europe
Most pots in the Neolithic era in Europe were made using the coiling technique. The pots made in this region were usually made for storage purposes for items such as food.
They were made from clay that had been dug up from the earth, with all of the roots and stones removed so that it could be molded.
During the middle portion of this era, decorations becan to adorn coil pots. People would simply use their fingers or reeds to create miniature designs into the clay.
North America
In this country, Native Americans would create coiled pots by hand before the invention of the wheel. A method was used by the Hohokam, whereby they would use a paddle as a tool for beating the clay.
They would then place an anvil on the inside of the pot which would support the clay. It could then curve a section of heated clay or stone. The pot was beaten from the outside to create the shape that was desired.
Frequently Asked Questions
Below, we answer some frequently asked questions about coil pots.
What Is A Coil Pot?
A coil pot is a type of pottery where the outside of the pot is gradually built up by placing rolls of clay on top of one another.
What Is A Coil Pot Used For?
Traditionally, coil pots had many uses throughout history. They were primarily used for preserving seeds, cooking items, and for storage. Nowadays, coil pots are simply created for decorative purposes.
Do You Have To Score And Slip For Coil Pots?
If you desire your coils to take their shape both on the inside and outside of the pot, then you will have to slip and score them so that they remain secured on top of one another.
If you don’t care about the coils being visible on the inside, you can pinch them instead.
Final Thoughts
If you are new to pottery, using the coiling method is a great way to get started. If you are indeed a beginner then it is a good idea to use stoneware clay as it is the simplest to mold.
Don’t worry about trying to get it perfect the first time, it will take some practice to get right, but if you follow the tips outlined above, you will be on the right track.


